Last updated: 2026-03-31
Source: https://support.freshservice.com/support/solutions/articles/50000011897-automox-autodiscovery
Note: Available only for new signups after the 31 March, 2026 release. If you signed up earlier, refer to the existing ITAM documentation.
Applicable plan: Growth, Pro, Enterprise
Automox Cloud discovery retrieves current details about your devices, operating systems, and software packages directly into Freshservice, which serves as the primary repository for your IT environment. By integrating these platforms, you can automate the synchronization of asset data, ensuring that your inventory reflects the latest state of your managed endpoints without manual entry.
This article describes the Automox discovery items, authentication requirements, and how to set up and schedule a discovery job.
Prerequisite
You need the following before the installation:
Automox Discovery Items
Freshservice collects the following details when an Automox discovery job runs:
Create an Automox Discovery Job
To set up a new discovery job, follow these steps:
1. Go to Admin > Asset Management > Scan and discover and click the Discovery Jobs tab.
2. Select Cloud from the list of discovery jobs and click Add new.
3. Select Automox as the discovery from the Type drop-down.
4. Enter the Bearer Token or click Add new Secret to create a secret with your client credentials (bearer token).
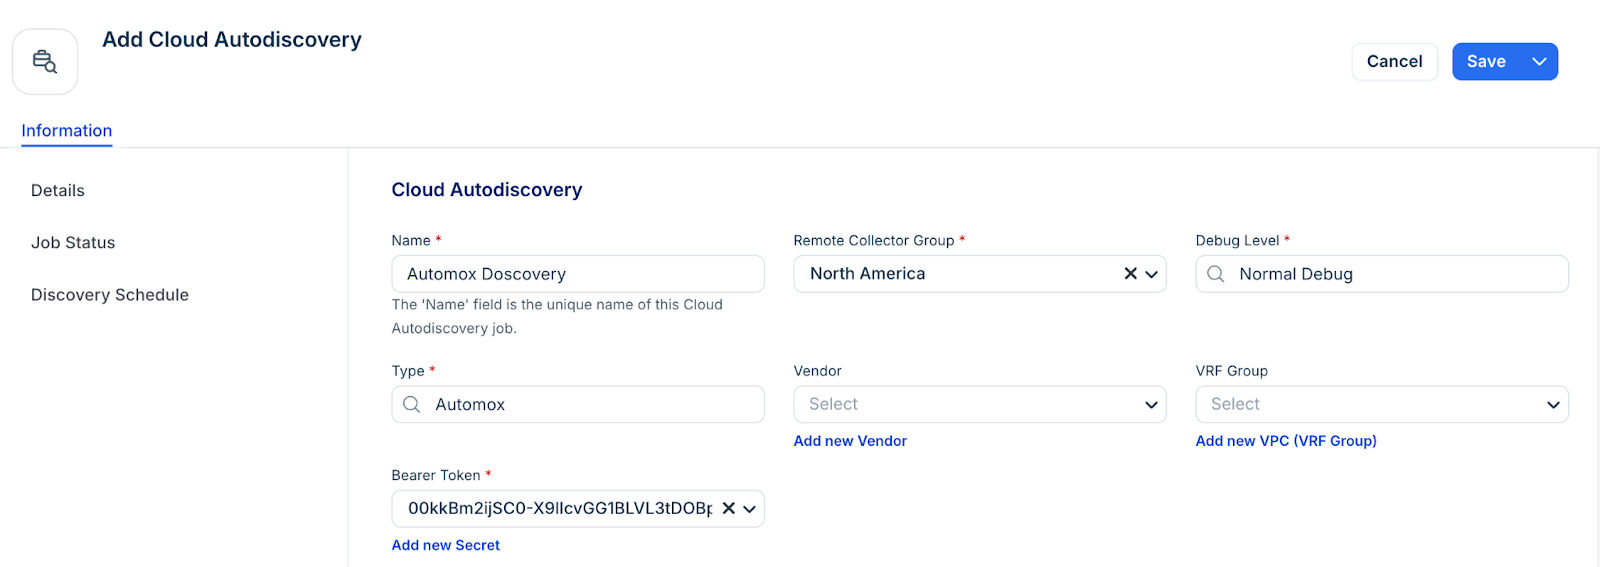
5. Optional, configure the following fields based on your requirement:
6. Select a customer for discovered devices to add another specialized classification or create a new by using the Add new Cost Center option.
7. In the Discovery Schedule section, click Add new to create an autodiscovery for the job. You can create multiple schedules.
8. Click Save, then click Run Now to start the discovery.