Last updated: 2026-05-14
Source: https://support.freshservice.com/support/solutions/articles/50000012655-preview-your-agent
Before you deploy an agent to employees, test how it behaves in real conversations. The Preview panel gives you an interactive chat environment where you can send messages and see how the agent responds—in the same interface your employees will use. Use it to verify that your knowledge, workflows, and instructions are all working together the way you intended.
Where to find the preview panel
The Preview panel is available from anywhere inside the Build section of AI Agent Studio. You do not need to navigate to a separate page to open it.
1. Open AI Agent Studio and select the agent you want to test.
2. In the left navigation, expand Build.
3. Click any item under Build—Knowledge, Workflows, Instructions, or Configurations.
4. At the bottom of the page, click Preview AI agent. The Preview panel opens on the right side of the screen.
``` Tip: The Preview panel stays open as you move between Build sections. You can adjust a setting in Configurations, then switch back to the panel to test the change without reopening it. ```
Send a test message
Use the message input field to send questions or requests to your agent, just as an employee would. The agent responds in the conversation area.
1. In the message input field, type a question or request.
2. Press Enter or click the Send icon.
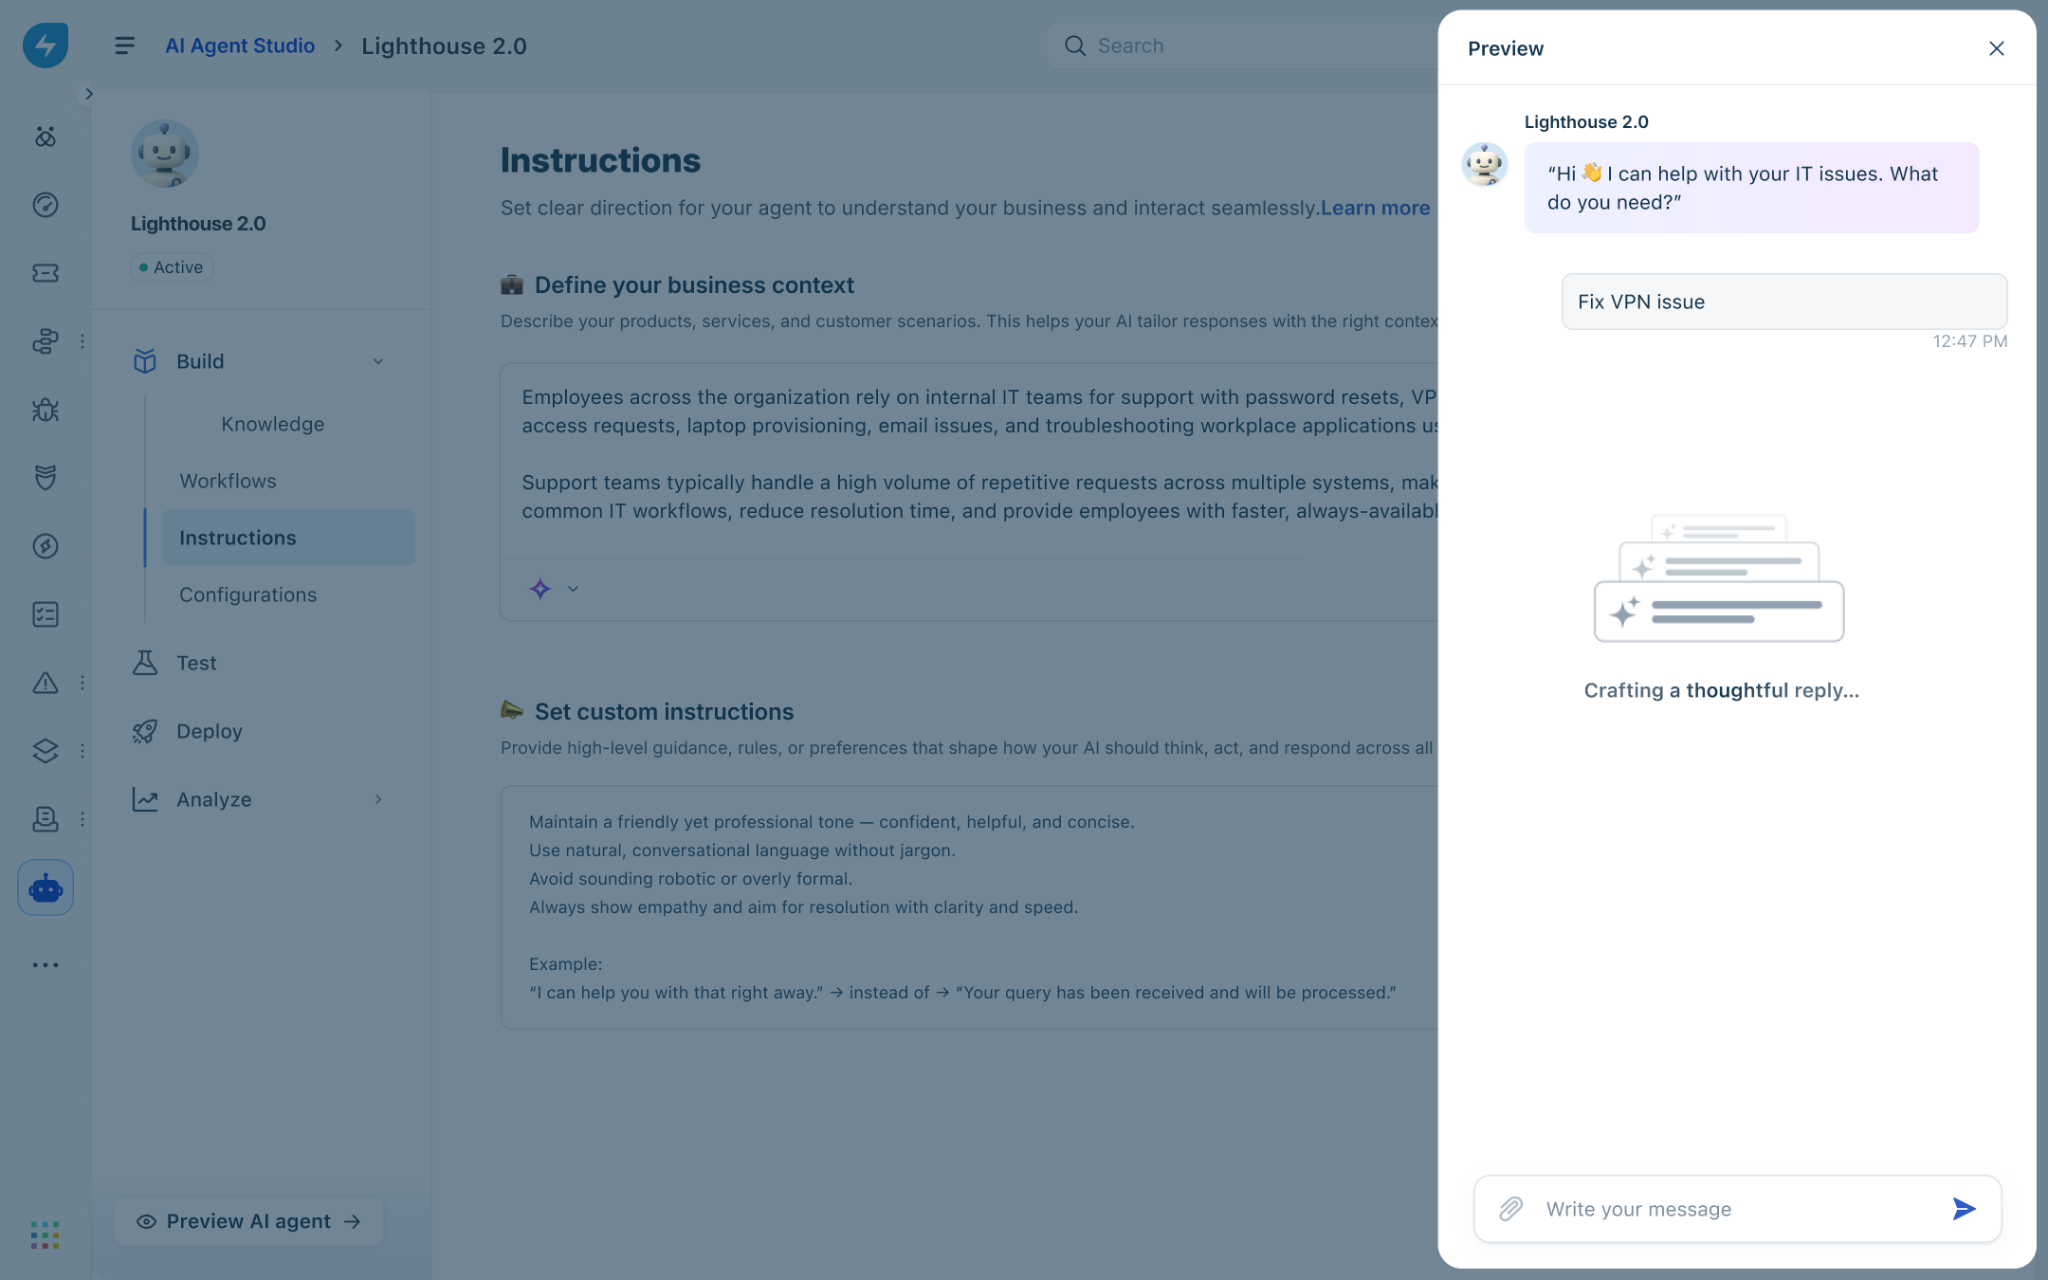
3. Review the agent’s response in the conversation area.
4. Continue the conversation by sending follow-up messages. The agent retains context within the same conversation.
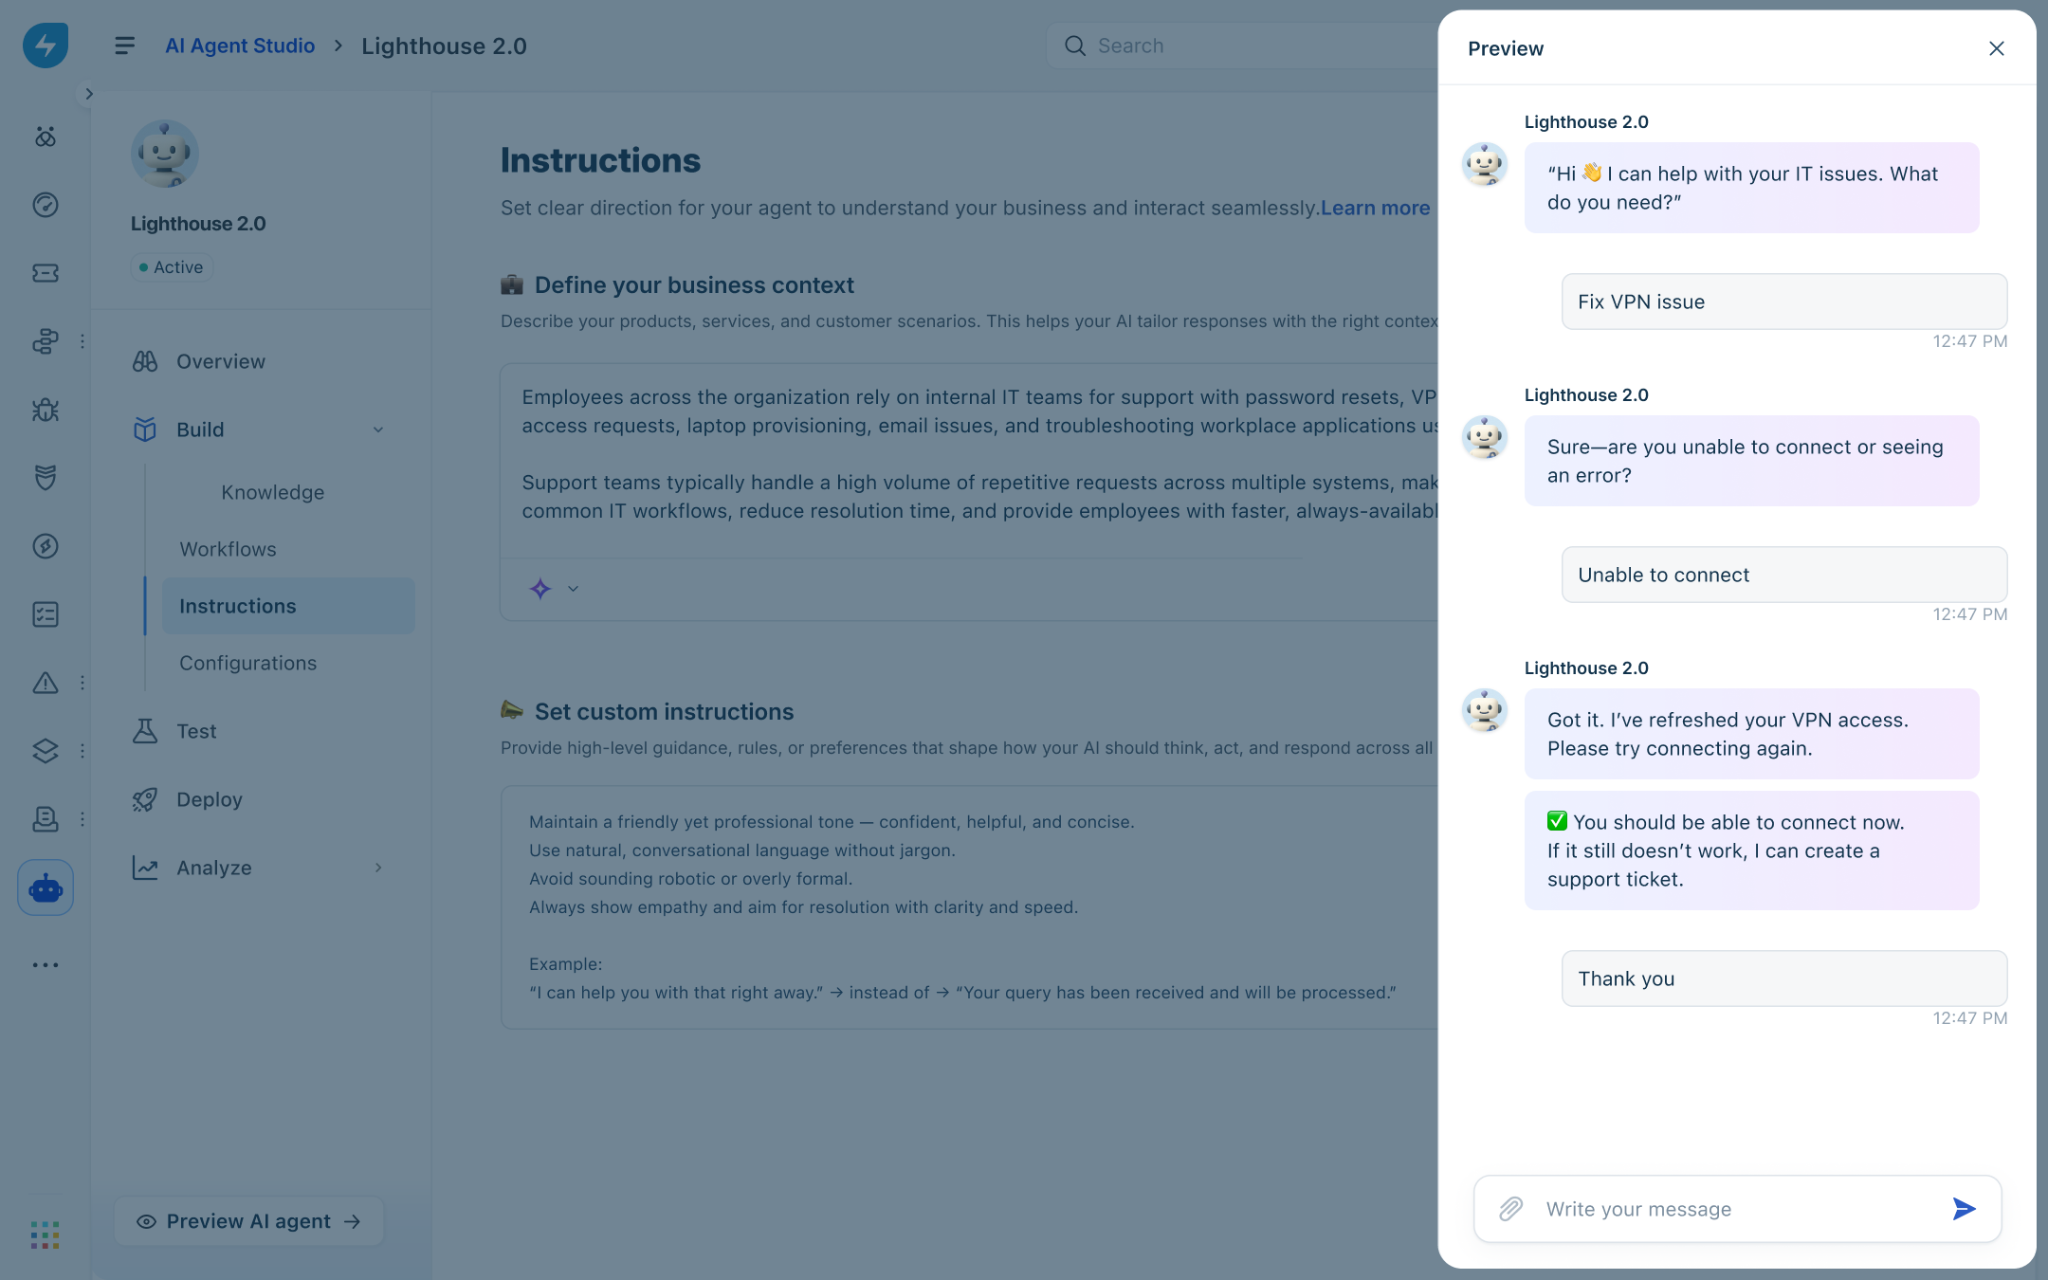
``` Tip: Test with realistic employee phrasing, including informal language and incomplete sentences. Employees rarely phrase questions the same way twice, and testing variations helps you identify gaps in knowledge coverage. ```
What to look for in a response
When reviewing an agent response in the Preview panel, evaluate the following:
Test workflows in preview panel
Workflows define actions the agent can take on behalf of employees—such as resetting a password, provisioning access, or creating a ticket. Use the Preview panel to confirm that each workflow triggers correctly, collects required inputs, and returns the expected outcome.
1. Send a message that is designed to trigger the workflow you want to test.
2. Respond to any follow-up questions the agent asks to collect required inputs.
3. Verify that the agent confirms the action was completed and provides the correct output.
4. Test error scenarios by providing invalid inputs, such as a ticket number that does not exist, and confirm the agent responds with a helpful error message.
``` Note: Feedback for queries that involve a workflow is collected after all steps in that workflow are completed, not when the question is first asked. When testing feedback collection, complete the full workflow before evaluating the feedback prompt. ```
Test fallback messages and human handover
The Preview panel lets you verify that your fallback message appears when the agent cannot find an answer, and that human handover works as configured.
Test the fallback message
Ask a question that falls outside your agent’s knowledge coverage. Confirm that the agent responds with the fallback message you configured in Configurations > Conversation behavior, and that it offers the option to create a ticket if you enabled Suggest creating a ticket.
Test human handover
Initiate a handover by sending a message that requests a human agent, such as:
Confirm that the agent displays the handover message and initiates the ticket creation process. Verify that the ticket is created with the correct details in Freshservice.
``` Important: Ensure your Freshservice ticket routing and assignment rules are configured before testing handover in Preview. The agent creates the ticket, but your existing Freshservice workflows determine which team or agent receives it. ```
Start a new conversation
Each conversation in the Preview panel has its own context. The agent does not carry information from one conversation into another. Starting a new conversation resets this context so you can test a different scenario from a clean state.
1. In the Preview panel, close the current conversation or click the new conversation control.
2. A fresh conversation opens. The agent greets you as it would greet a new employee.
3. Send your first message for the new test scenario.
``` Tip: Start a new conversation whenever you change a setting or update knowledge sources. Testing in the same conversation after making changes can produce misleading results because the agent may draw on context from earlier messages. ```
Iterate based on results
Preview is most effective when you use it as part of a continuous cycle: test, identify an issue, make a change, and test again. Use the following approach to work through issues systematically.
1. Identify the issue. Note the exact message you sent, the response the agent gave, and what you expected instead.
2. Go to the relevant Build section. Knowledge issues require changes to your knowledge sources. Workflow issues require changes in Workflows. Tone or behavior issues require changes in Instructions. Fallback or handover issues require changes in Configurations.
3. Make the change and save it.
4. Return to the Preview panel, start a new conversation, and retest the scenario that previously failed.
5. Test related scenarios to confirm no regressions.