Last updated: 2026-04-22
Source: https://support.freshservice.com/support/solutions/articles/50000011883-manage-devices
``` Note: Available only for new signups after the 31 March, 2026 release. If you signed up earlier, refer to the existing ITAM documentation. ```
You can manage devices to access critical properties such as device names, asset numbers, and serial numbers.
You can configure the framework for how that device interacts with your infrastructure by defining a device type (physical, virtual, or cluster). For example, identifying a device as a Network Device enables switch port management, while marking it as a Virtual/Container Host allows it to host guest devices. Freshservice also tracks Service Levels to define production status, helping you monitor the asset lifecycle from procurement to retirement.
This article provides an overview of managing devices within the inventory, including how to add new devices, edit existing properties, and use the device list page for bulk actions.
Prerequisites
You need the following before managing devices:
Add a new device
To add a new device record, follow these steps:
1. Go to IT Asset Management >Inventory and click Add new. The Add Device page opens.
2. Enter details to the following mandatory fields:
- Name: A name for the device.
- Workspace: Select the workspace associated with the device.
- Type: Select the type of the device - Physical, Virtual, Cluster.
- Service Level: Select an appropriate service level from the list. By default, new devices are set to Production. To add a new service level, click Add new Service Level.
- Usage Type: Select how the device is used - Permanent or Loaner. 3. Optionally, check the following attribute boxes to define how the device behave:
- Network Device: Required for managing switch ports.
- Virtual/Container Host: Required for hosting virtual guests.
- In Service: Enabled by default for new devices. 4. Add other relevant details such as IP address, serial number, department, and so on.
5. Click Save.
Edit a device
To modify an existing device, follow these steps:
1. Go to IT Asset Management >Inventory and click on the name of the device you want to modify.
The particular device’s page opens.
2. Click Edit in the top-right corner of the page.
3. Update the necessary fields and click Update.
Caution:
View device information
To view detailed information about a particular device, from the left navigation pane, go to IT Asset Management >Inventory. The All Device page opens where you can add, filter, clone, or import devices.
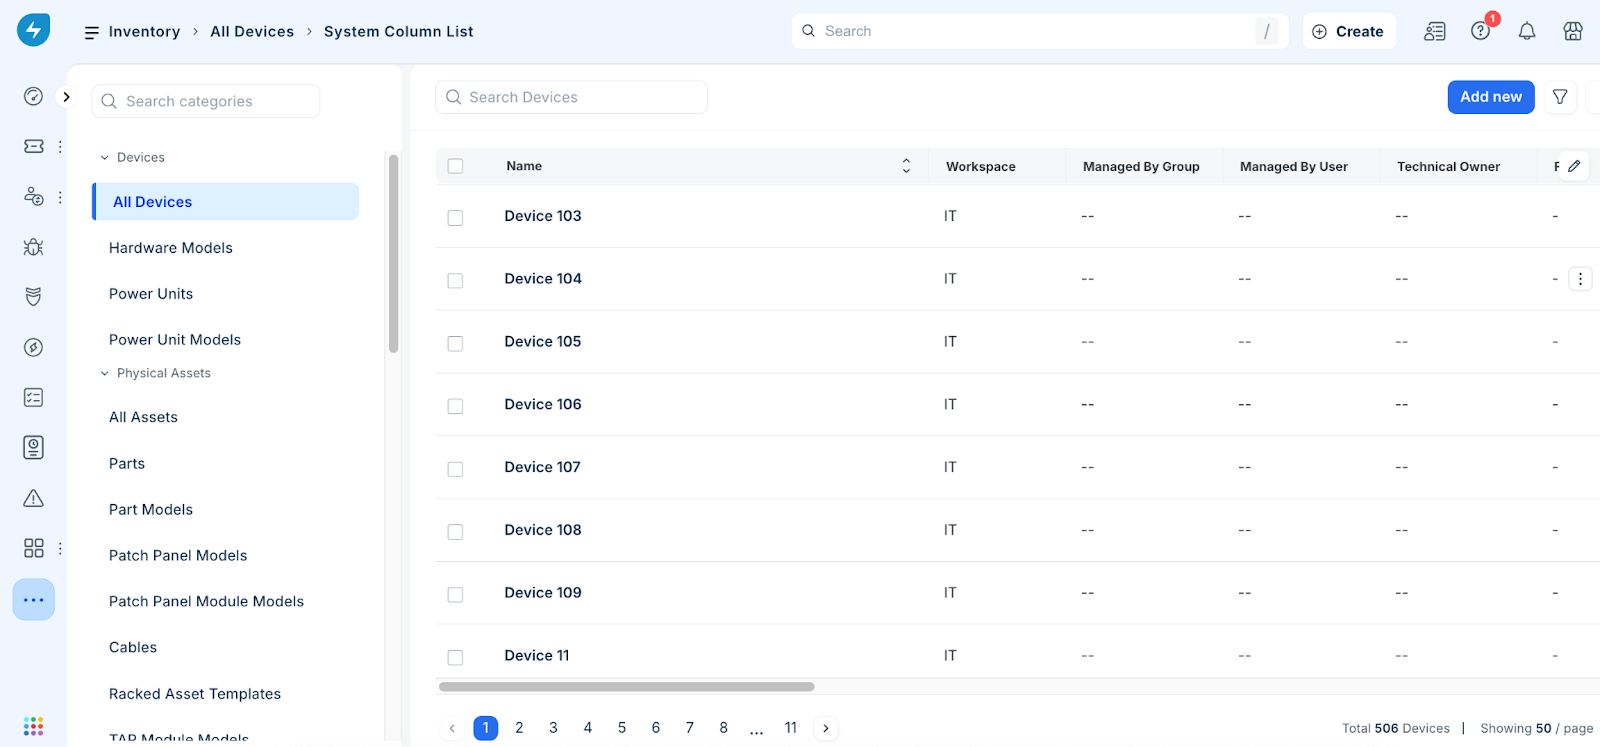
To view details of a device, click the device name. The device page opens displaying the following information:
Note: Discovered Certificate Instances are displayed in the device details view.
Perform bulk actions on device tags
Tags are useful for filtering and grouping objects. For example, you could define a "Project X" tag and associate that tag with all the devices, IP addresses, and other items associated with Project X.
To add or remove tags for multiple devices at once, follow these steps:
1. Go to IT Asset Management >Inventory.
The device list page opens.
2. Select the checkboxes for the devices you want to update.
3. Click the More options (three vertical dots) icon.
4. Select Add tags to selected items or Remove tags from selected items.
5. Type the tag name in the text box and confirm the action.