Last updated: 2025-11-18
How to manage attachments in cases and service requests
``` Note: This feature works the same across all Freshservice products. Some screenshots or articles may reflect older designs, but the functionality remains unchanged. If certain options do not appear in your account, they may not be included in your current plan. ```
Feature Summary
Managing attachments just became simpler and more efficient for specific ticket types across Business and IT workspaces.
This enhancement introduces a dedicated Attachments section that provides a consolidated view of all files related to a ticket (case or service request), depending on the workspace. Agents and requesters can now quickly access, preview, and manage documents from one place, eliminating the need to jump between conversation threads or service items.
Attachments can originate from various parts of the tickets, including:
Supported Ticket Types
| Workspace | Ticket Type | Attachments Support |
| Business Workspace | Cases/Tickets | ✅ Supported |
| IT Workspace | Service Requests | ✅ Supported |
| IT Workspace | Incidents | ❌ Not Supported |
Key Benefits
The key benefits of this feature include:
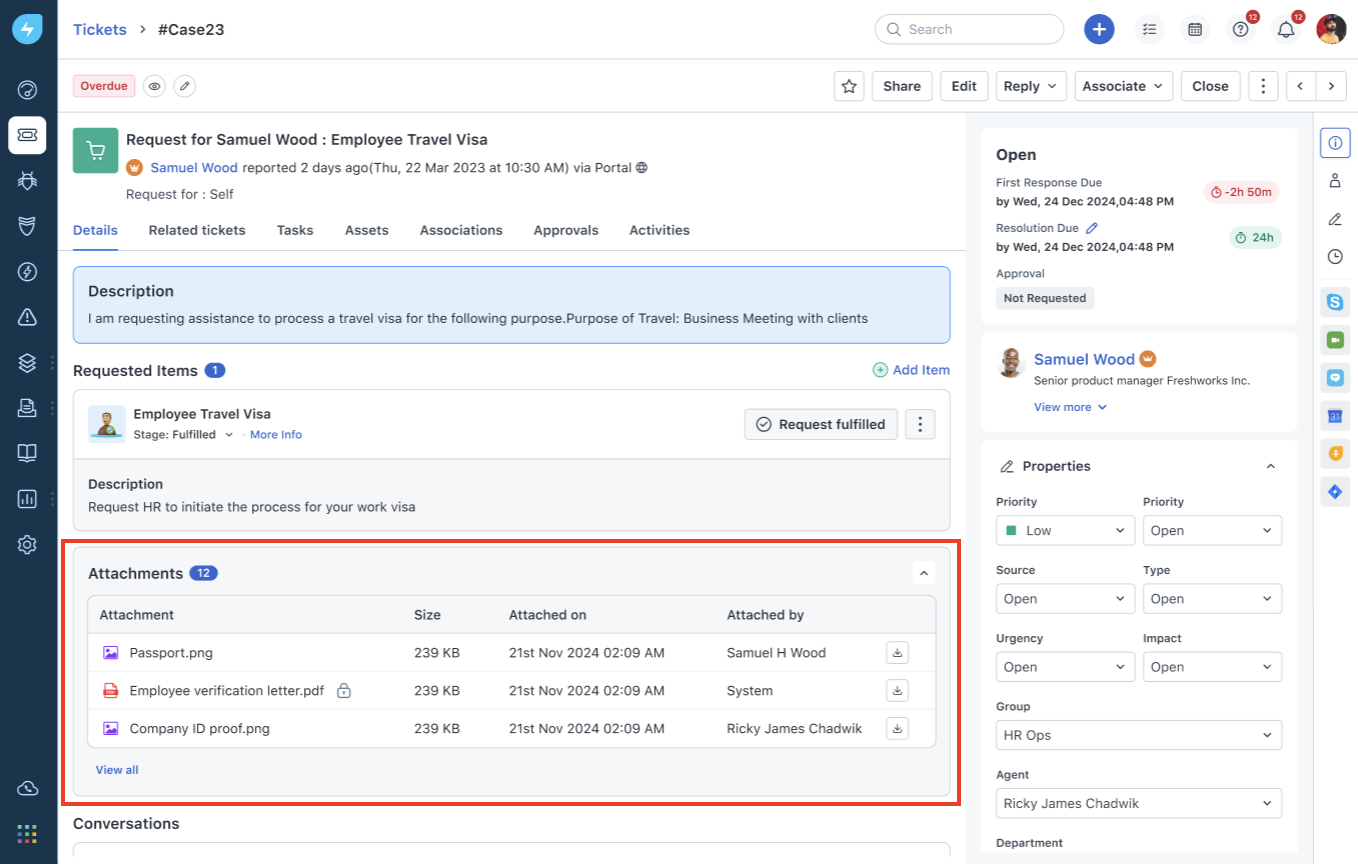
Viewing Attachments
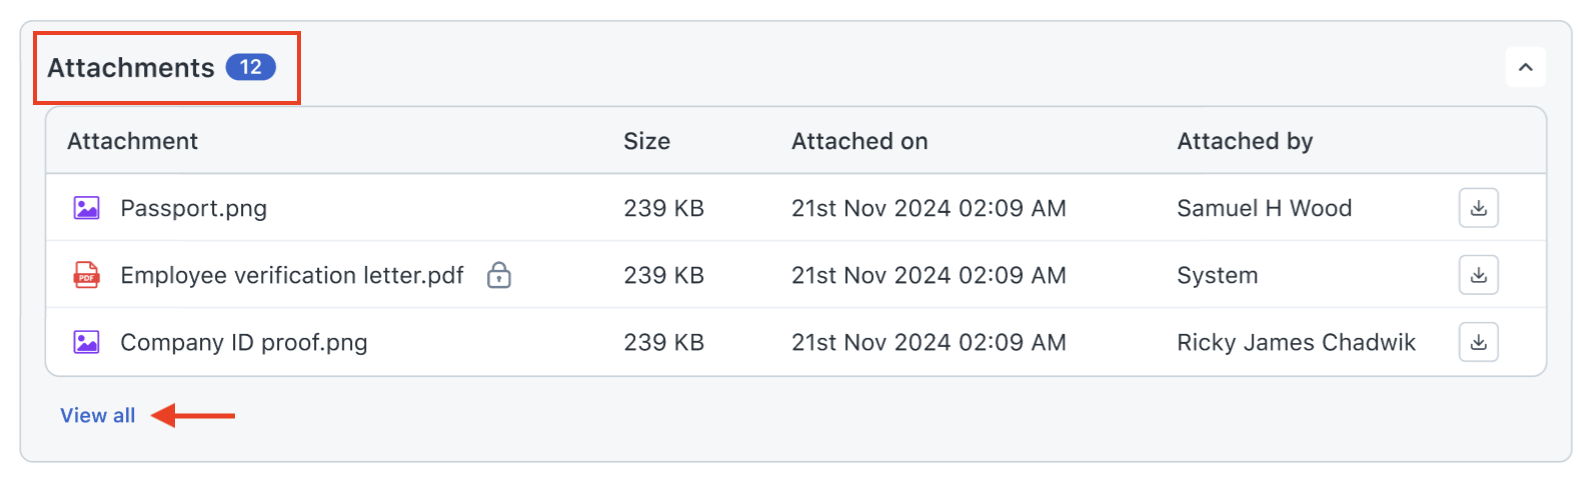
The total number of attachments for a case/service request appears next to the Attachments title, as shown in the image below. By default, up to three attachments are visible. To view the complete list of attachments, click View all.
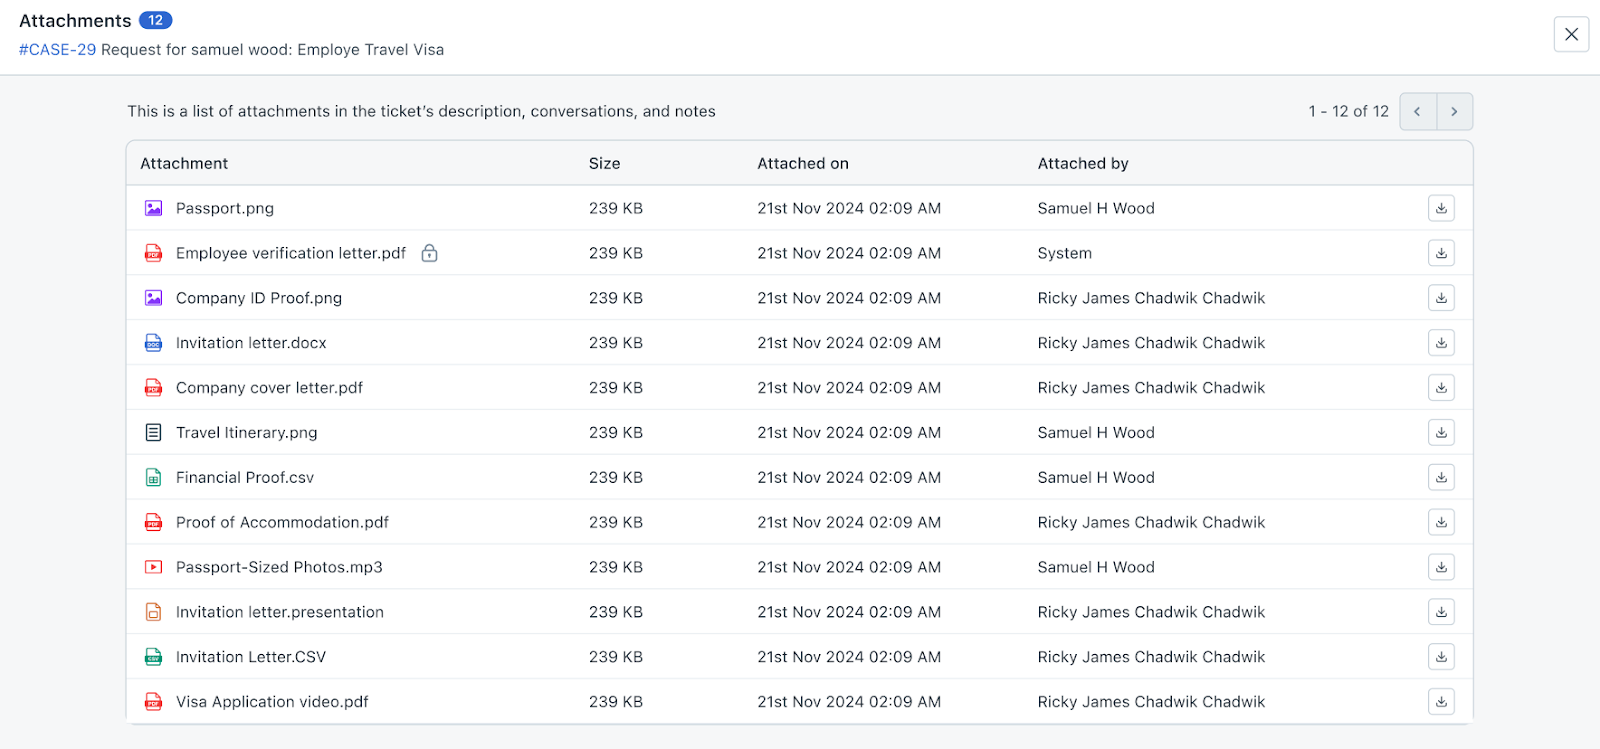
The following image shows how attachments are displayed on the View all screen.
Previewing Attachments
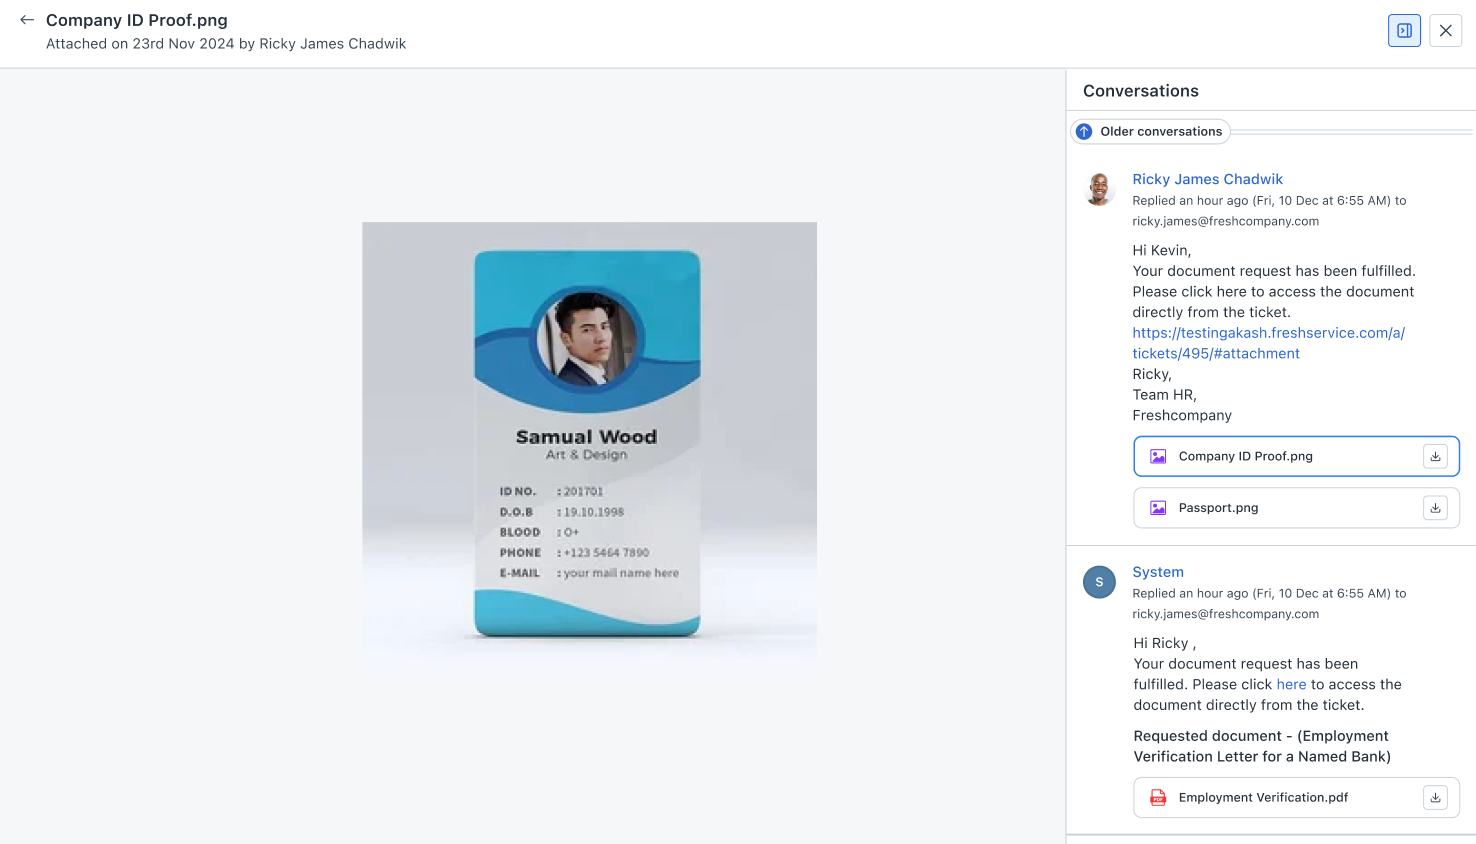
You can preview an attachment by clicking it. The attachment, along with the conversation associated with it, will be displayed, so as to add more context to the attachment you’re viewing currently.
Collapse or Expand the Attachments Section
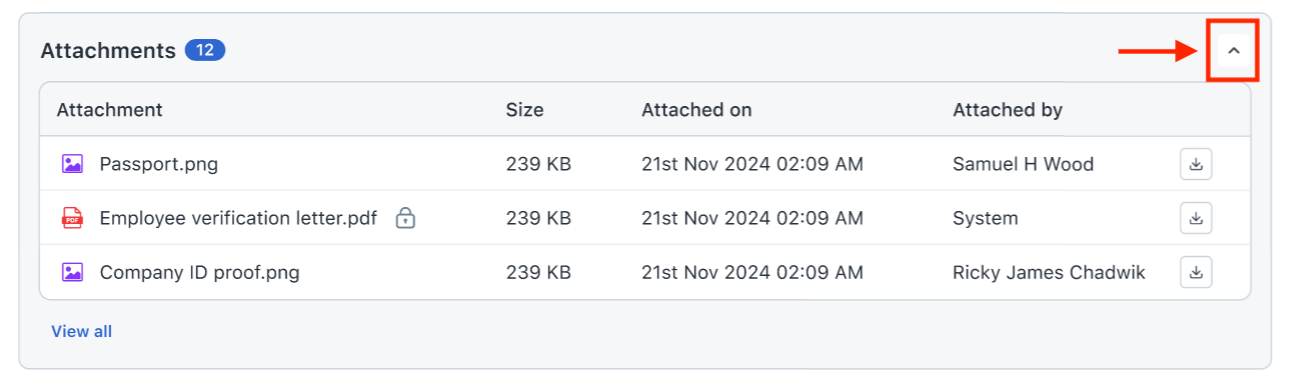
To hide or reveal the Attachments section, click the arrow icon shown in the image below. This allows you to manage screen space and focus on other parts of the case/service request as needed.