Last updated: 2025-11-13
Business Rules for Problem Management
IT Problem Management focuses on minimising the recurrence and impact of incidents by identifying the root cause. While the primary goal of IT service desks is rapid and efficient issue resolution, problem management's distinct function is to prevent similar incidents from occurring again in the future.
Business Rules for Problem Management feature in Freshservice ensures more efficient ways of problem handling and administration, while also meeting the rigorous requirements and standards of enterprise-level operations.
Some of the benefits of business rules for problems are as follows:
_Note:_
Create business rules
To create business rules for problems:
1. Log in to the Freshservice application.
2. Go to Admin > Global Settings > Service Management > Business Rules for Forms.
3. Or, go to Admin > Workspace Settings > {Workspace Name} > Service Management > Business Rules for Forms.
4. Click Problems on the left pane.
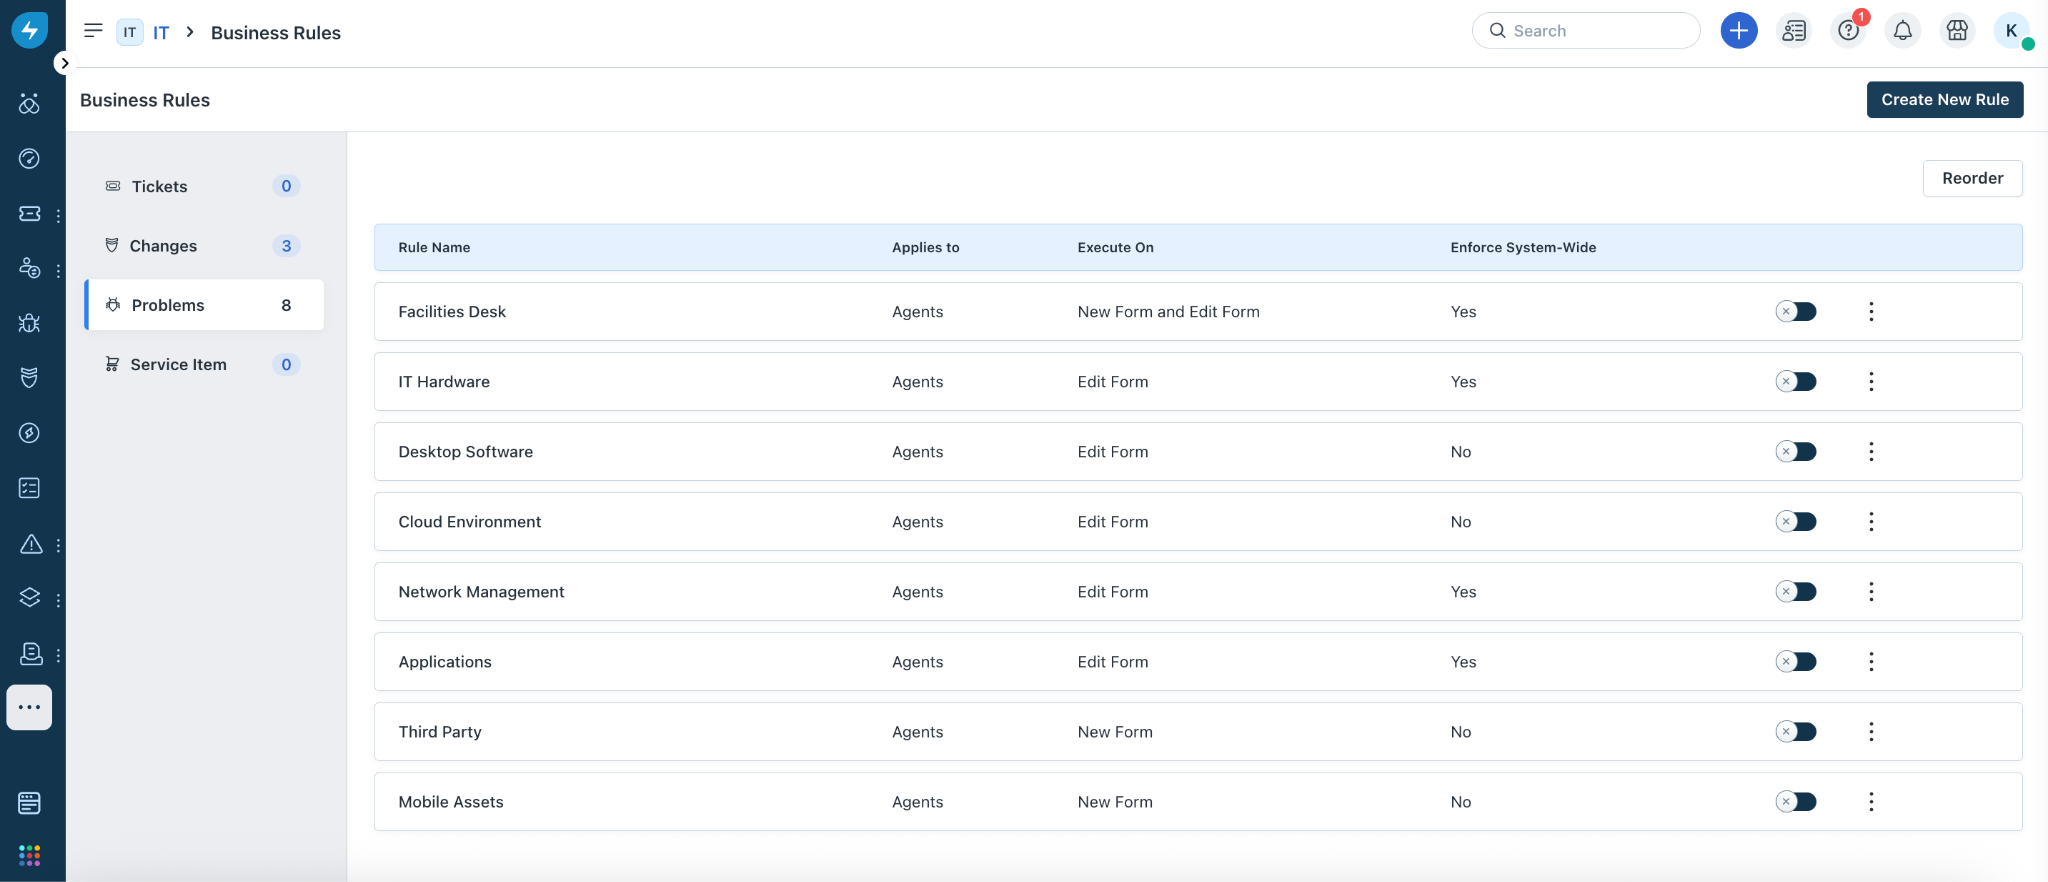
5. Click Create New Rule, and select Problem. The New Business Rule for Problems page opens.
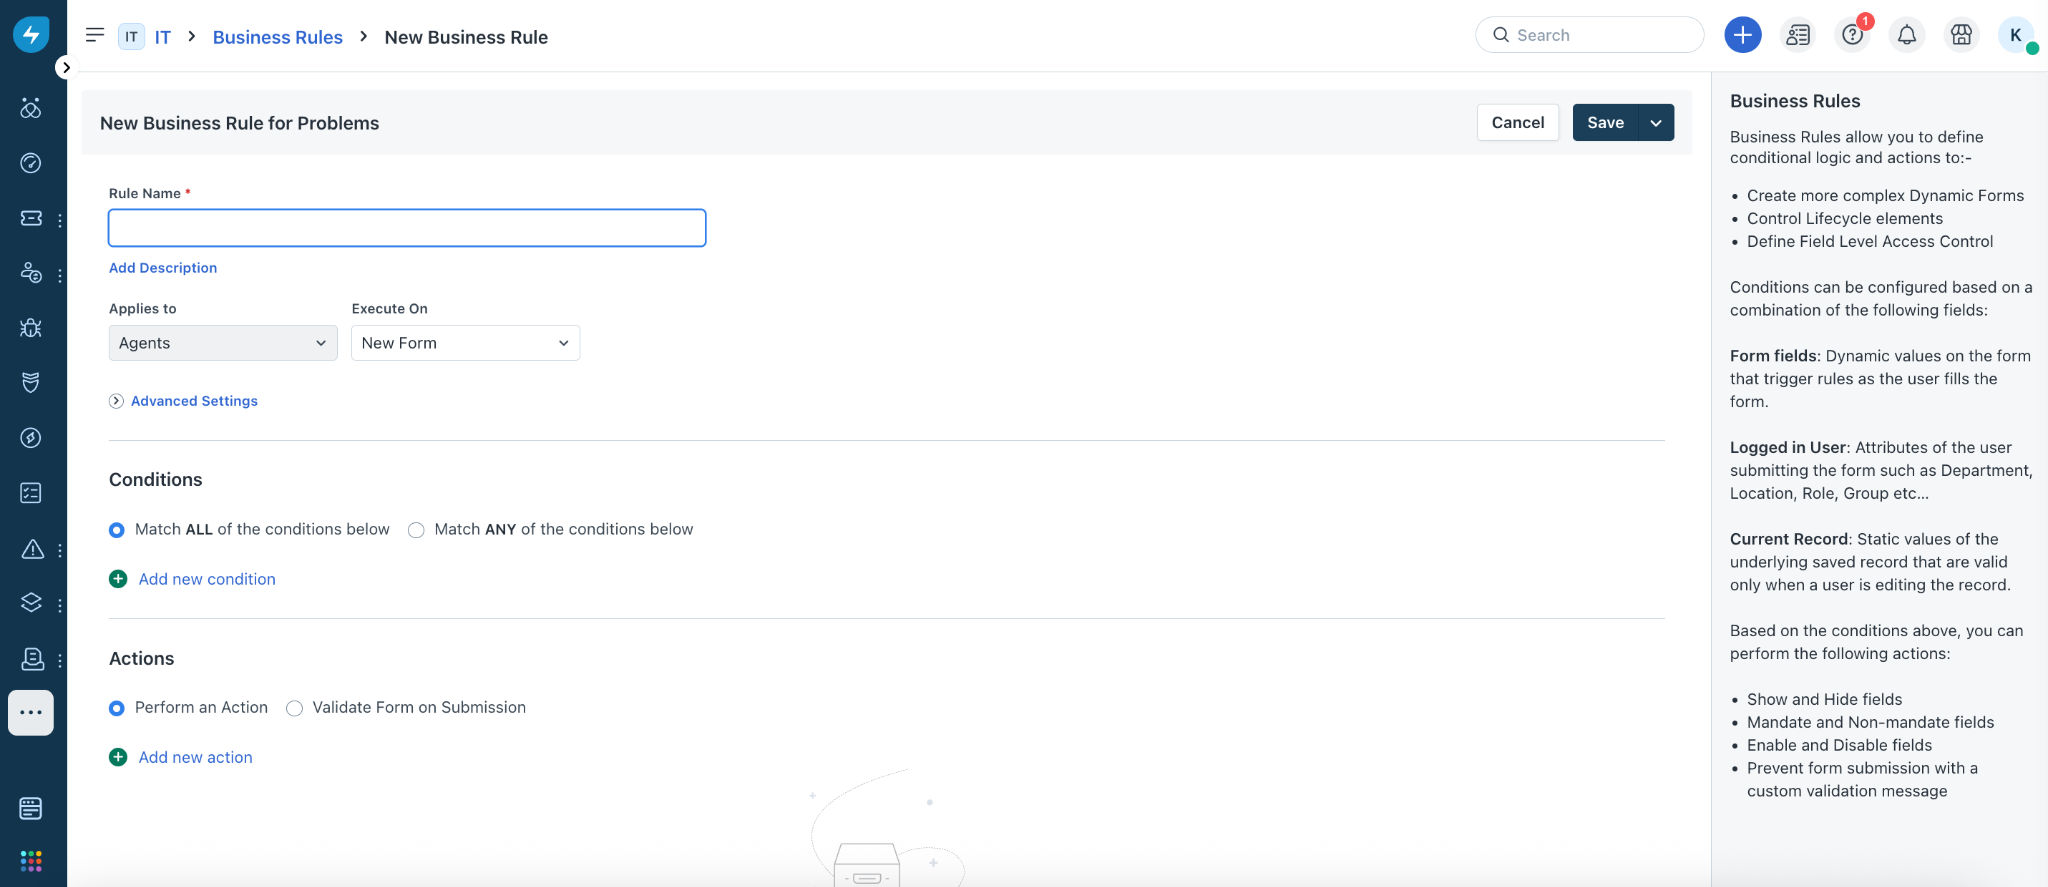
6. Enter a name and description for the business rule in the respective fields.
Note:_By default,__Agents is selected in the Applies to__dropdown, as business rules for problems apply to only agents._
7. Select a relevant option from the Execute On dropdown (New Form, Edit Form, or New Form and Edit Form).
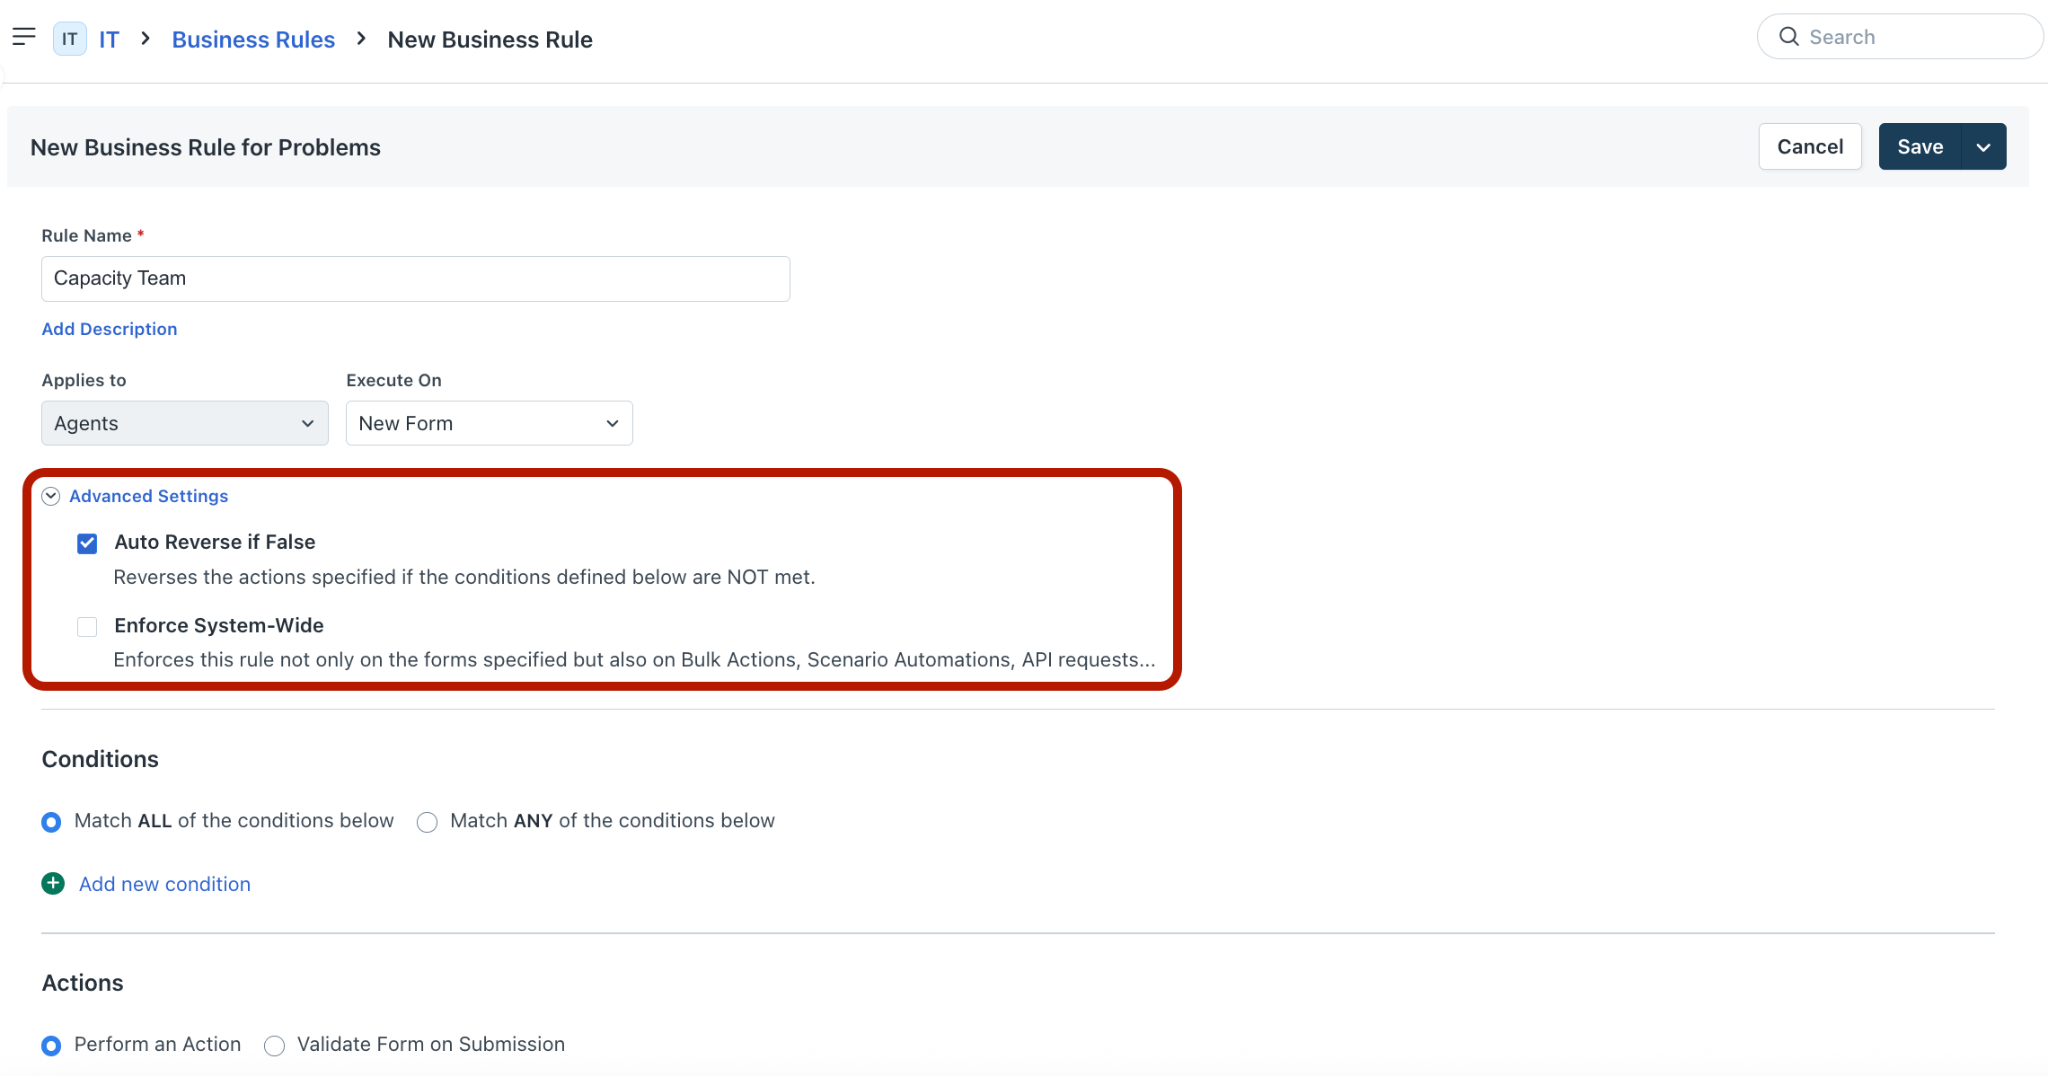
8. Click Advanced Settings, and enable or disable the Auto Reverse if False and Enforce System-Wide options, as required.
9. In the Conditions section, select a relevant option (Match All or Match Any). Then, click Add new condition to add a condition.
_Note:__You can add multiple conditions._
10. In the Actions section, select a relevant option (Perform an Action or Validate Form on Submission). Then, click Add new action to add an action.
_Note:_
11. Click Save or Save and Activate.
The new business rule for problems is created.
Manage business rules
To manage business rules for problems:
1. Log in to the Freshservice application.
2. Go to Admin > Global Settings > Service Management > Business Rules for Forms.
3. Or, go to Admin > Workspace Settings > {Workspace Name} > Service Management > Business Rules for Forms.
4. Click Problems on the left pane.
5. (To edit a business rule) Click any business rule name.
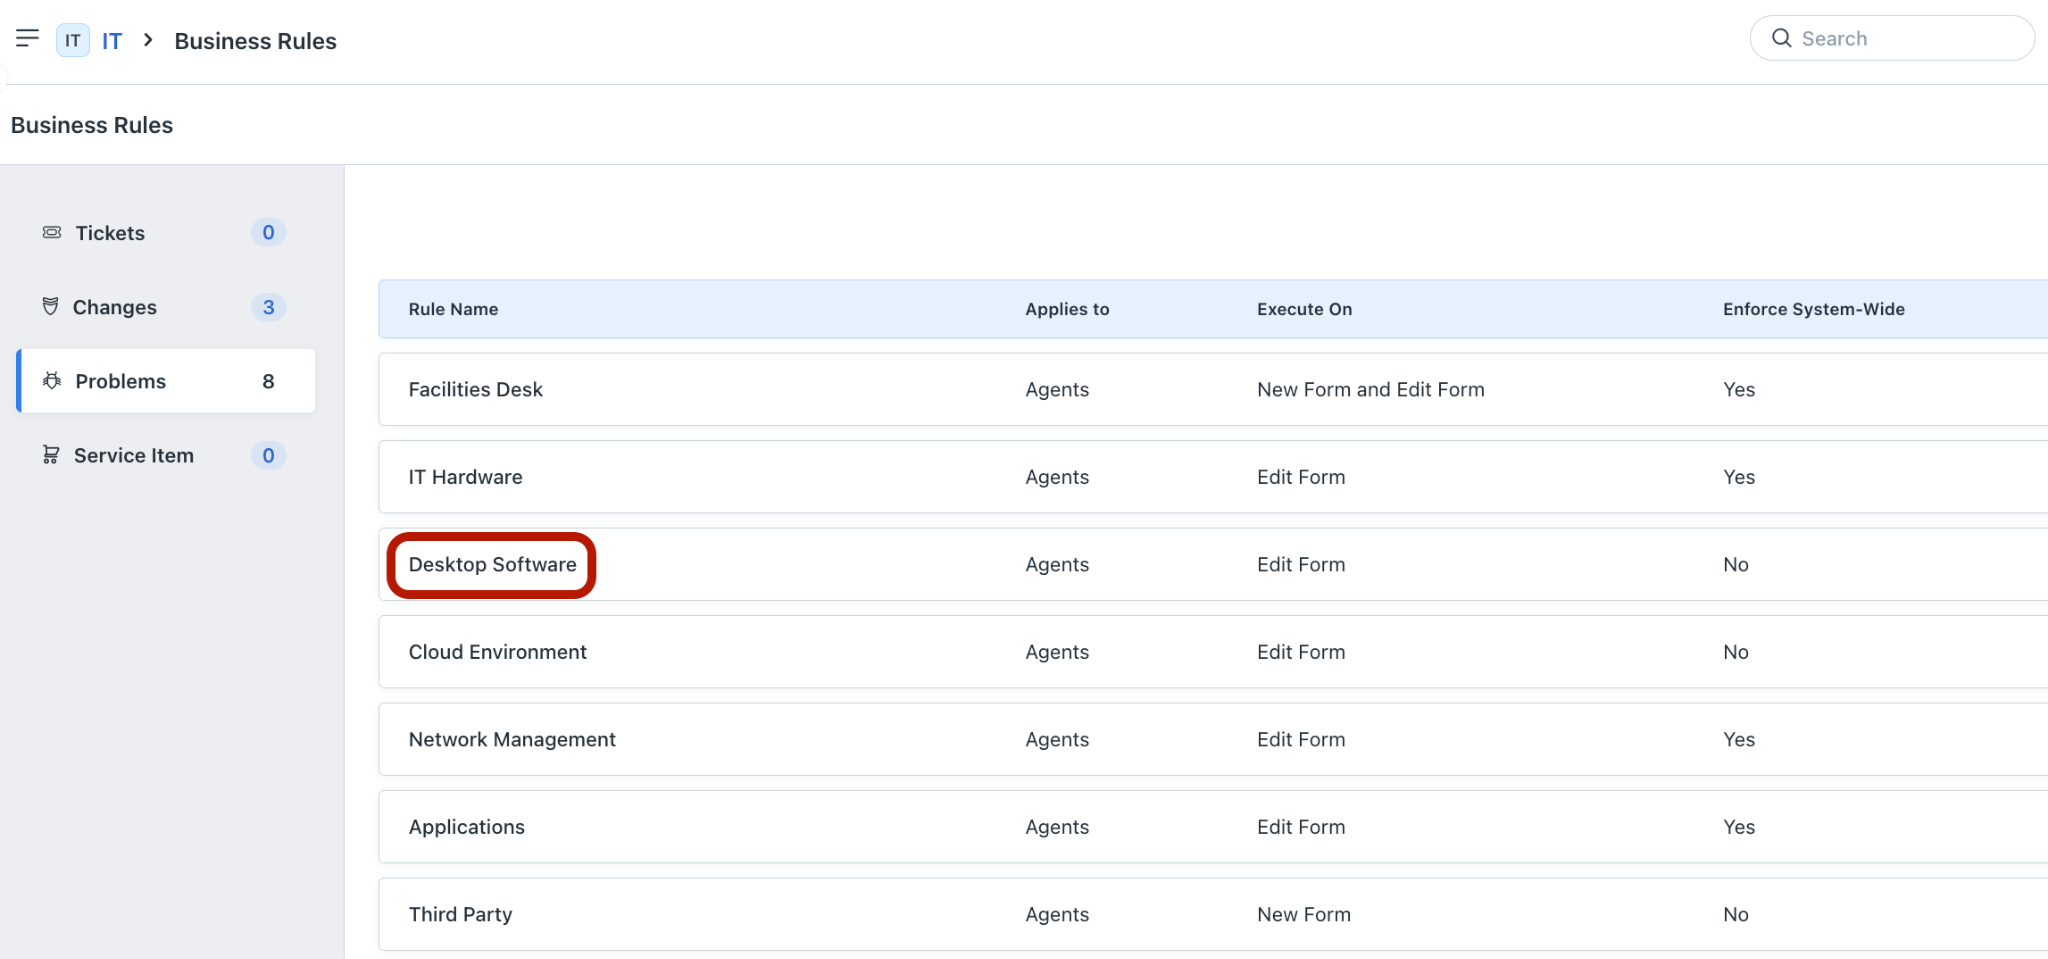
6. Make the necessary changes, and click Save.
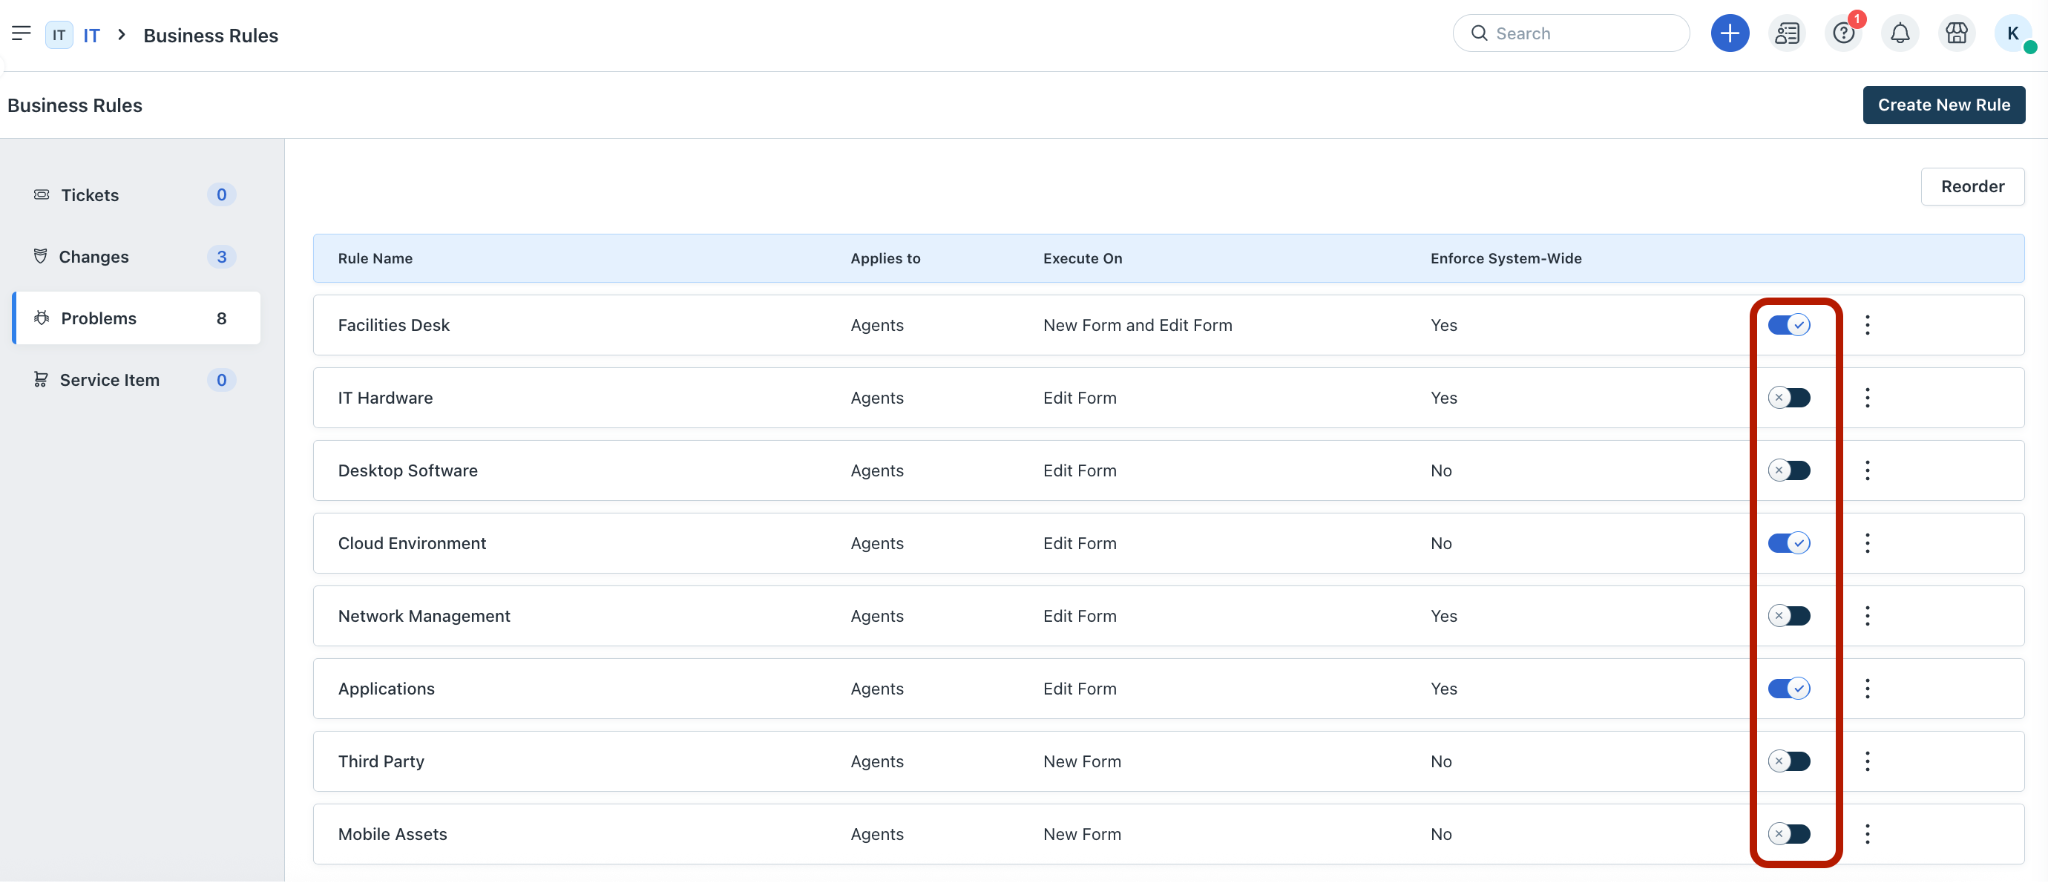
7. (To enable or disable a rule) Use the toggle button.
8. (To clone or delete a rule) Click the ellipses icon next to a rule.
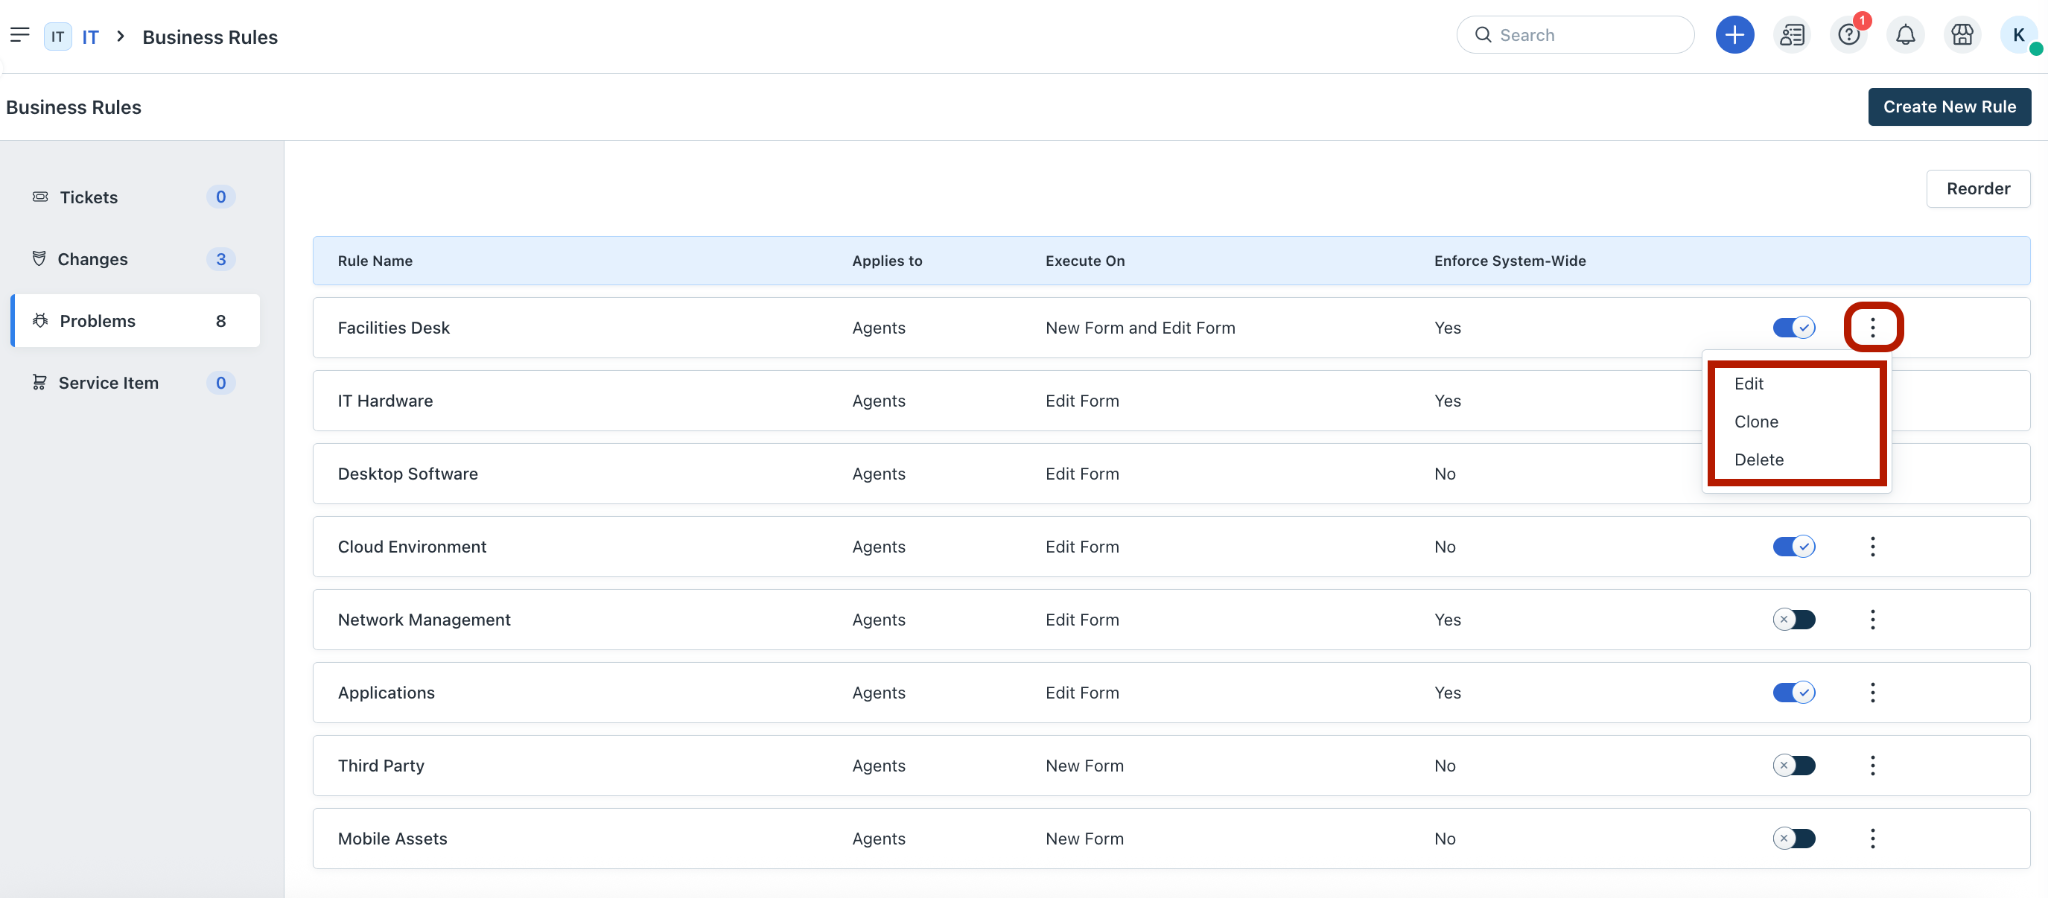
9. Then, select the required action.
Note:_You can also edit a business rule using the__Edit__option._
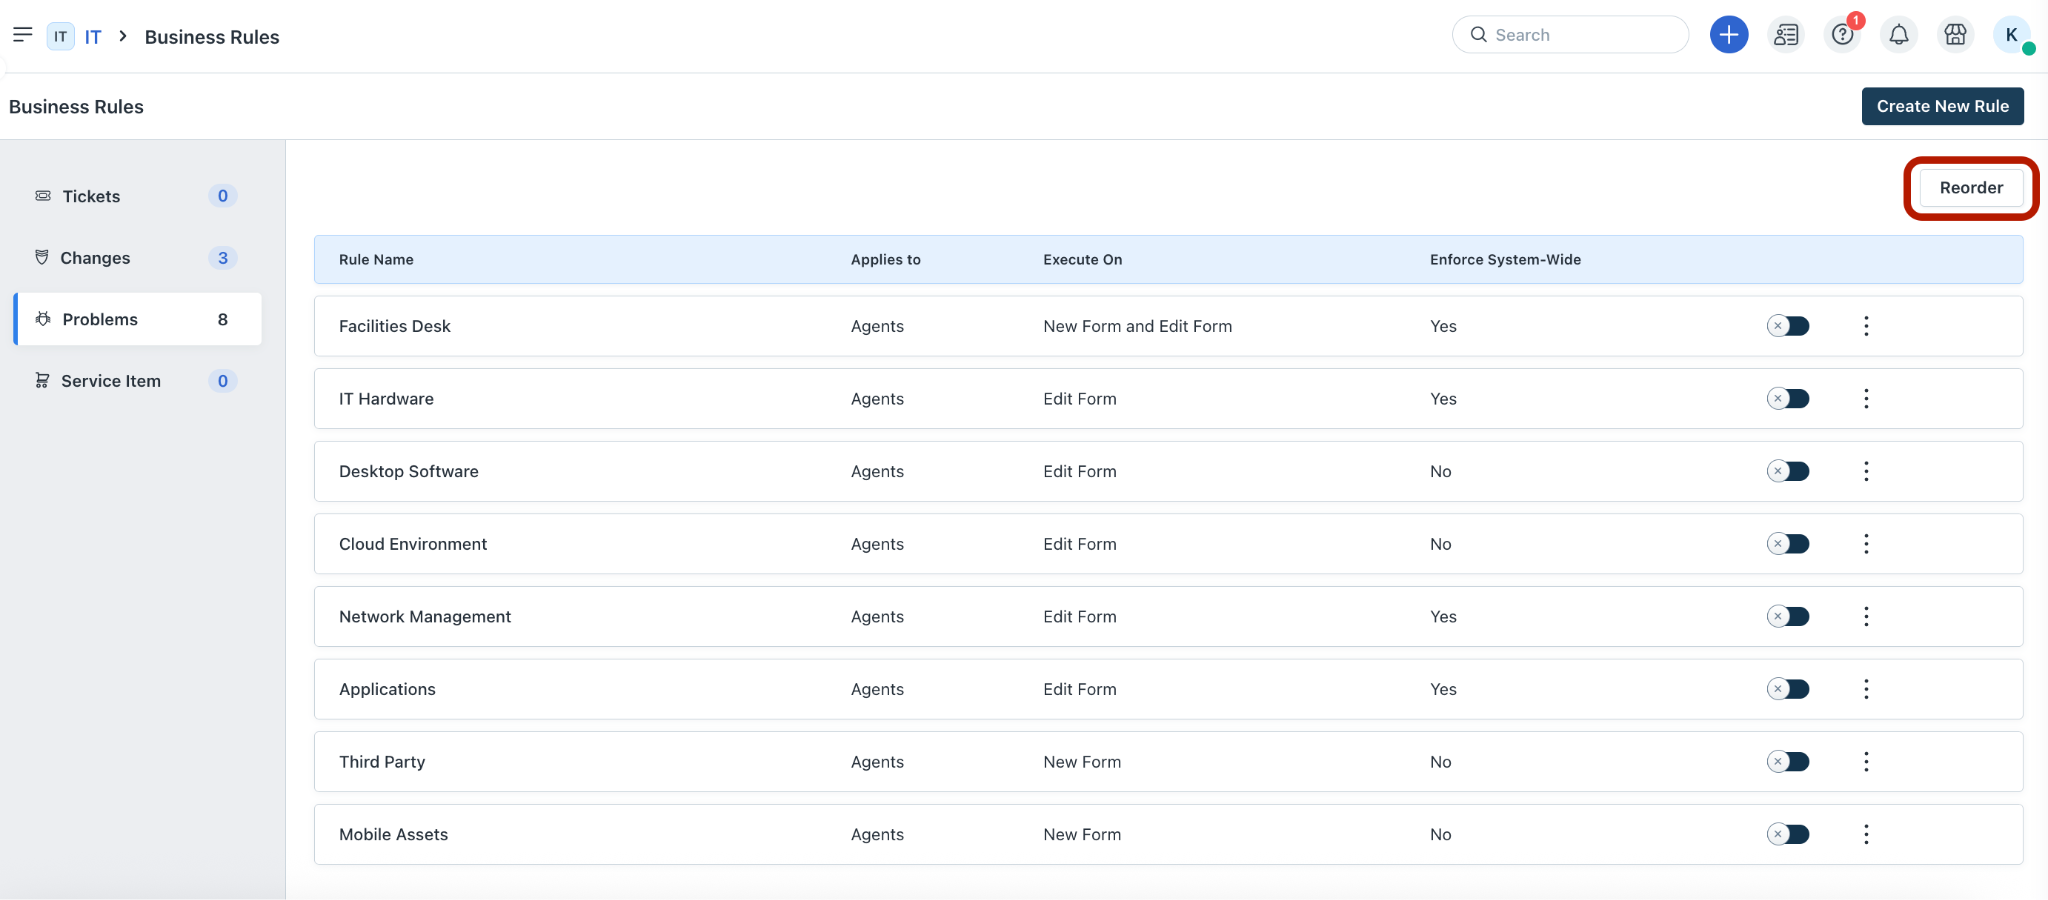
10. (To change the order in which rules must execute) Click Reorder.
11. Drag and drop the rules based on the required order of execution.
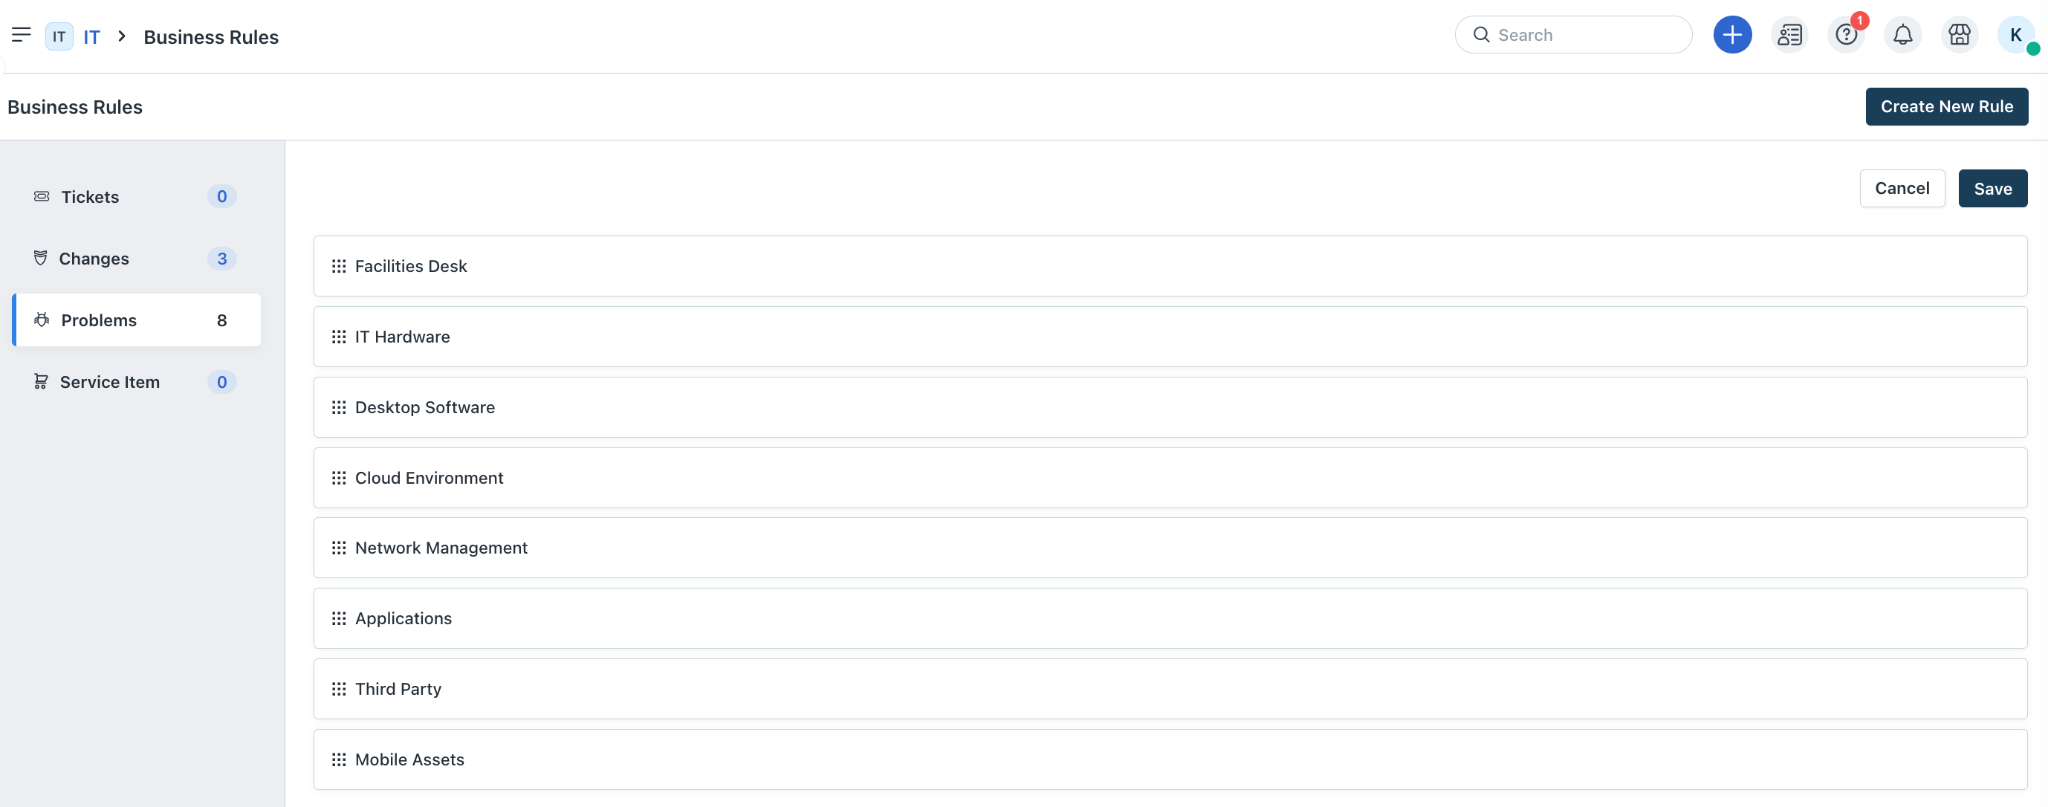
12. Then, click Save.
Note:_You must have more than one rule created for the__Reorder__option to be available._