Last updated: 2026-03-27
Configure the Zoom integration to securely manage user data and automate administrative actions directly from your Freshservice service desk.
Setting up the Zoom integration
Follow these steps to configure the integration within your Zoom and Freshservice accounts.
1. Access the Zoom App Marketplace:
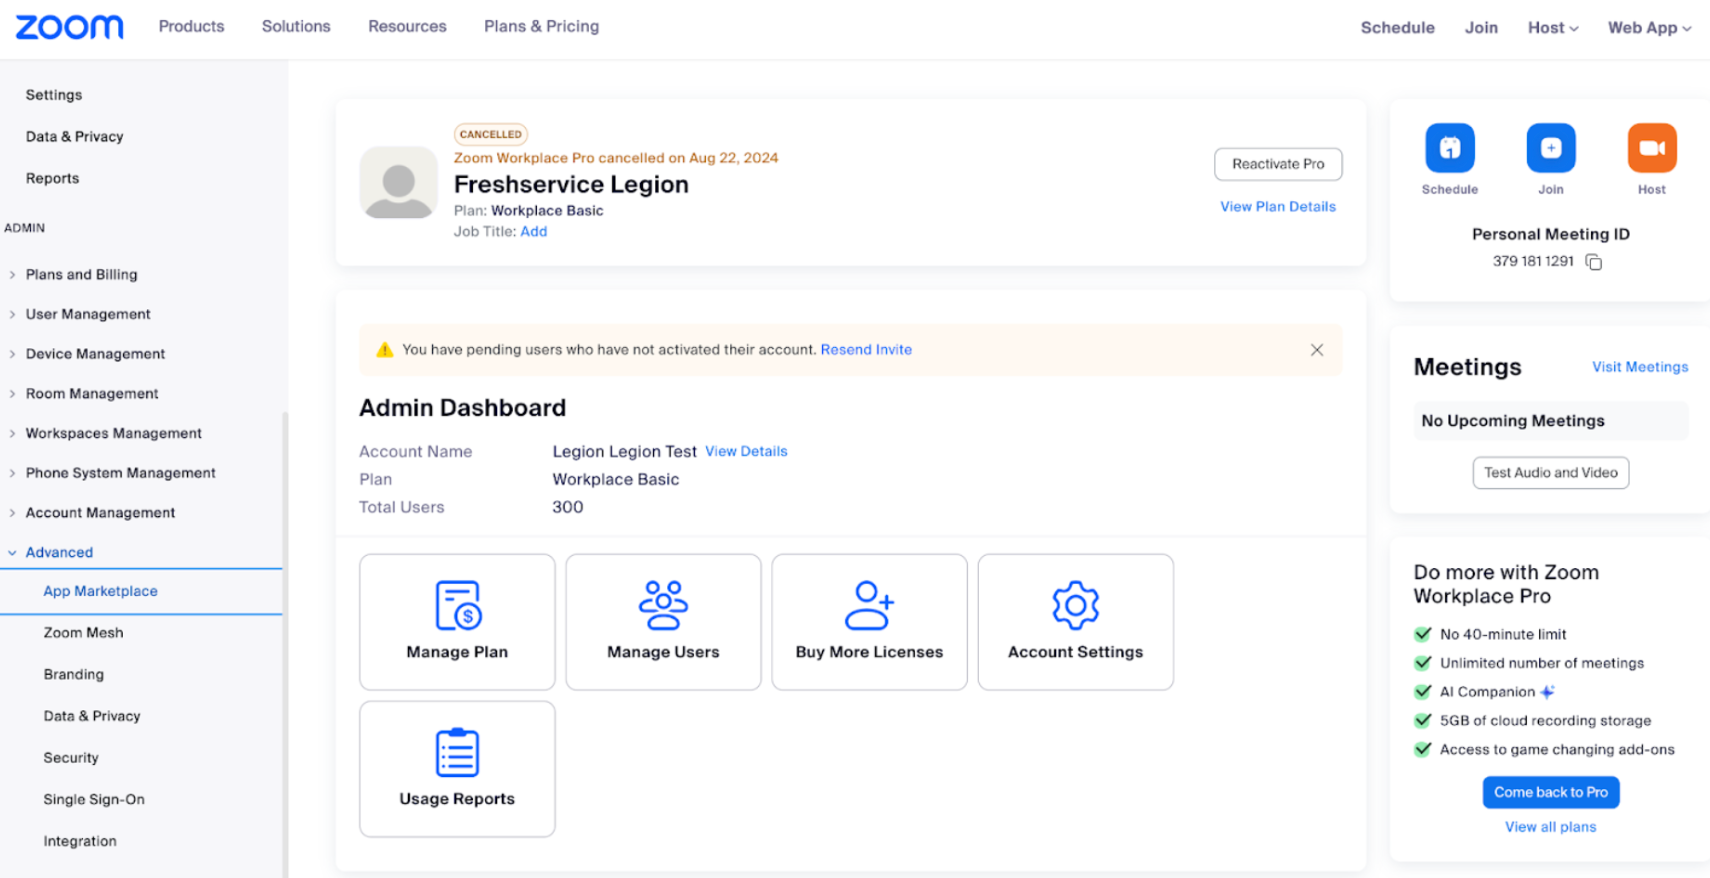
1. Log in to your Zoom Admin account.
2. In the navigation menu, go to Advanced > App Marketplace.
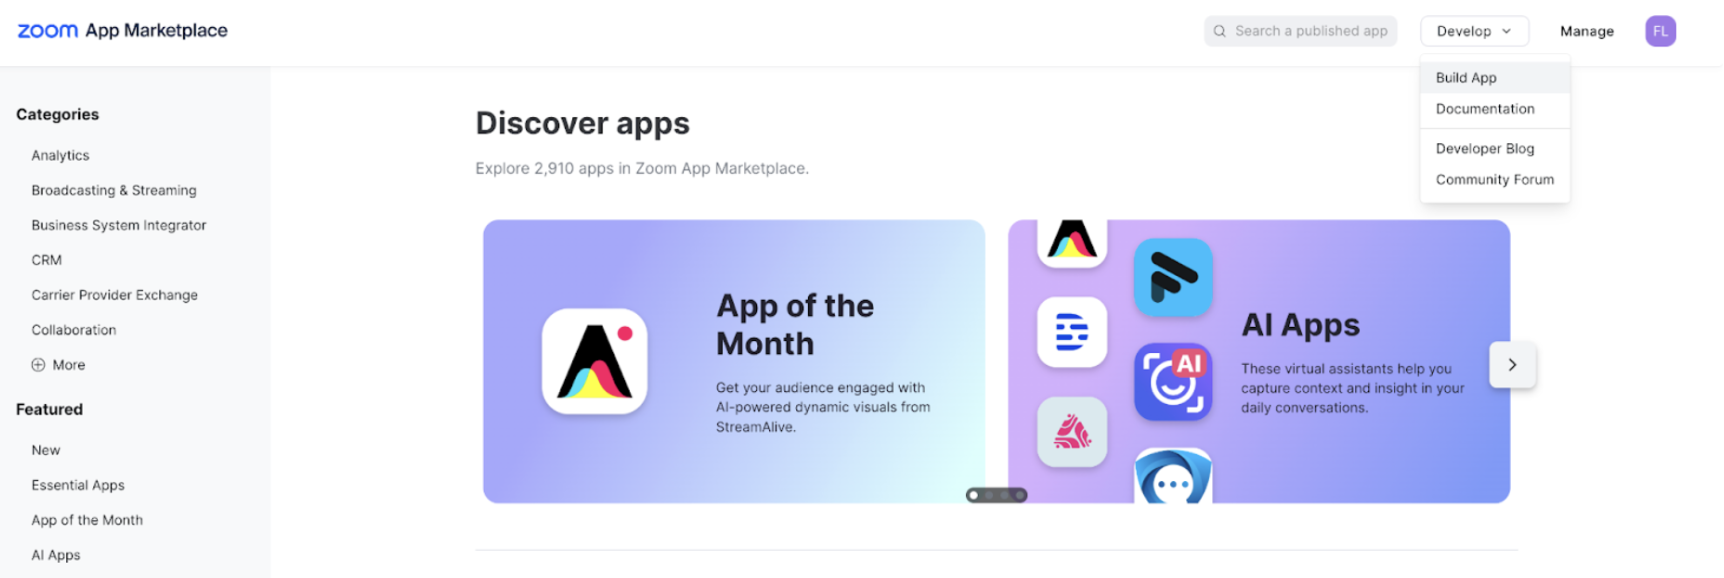
3. In the top right corner, select Develop > Build App.
 2. Create a new app:
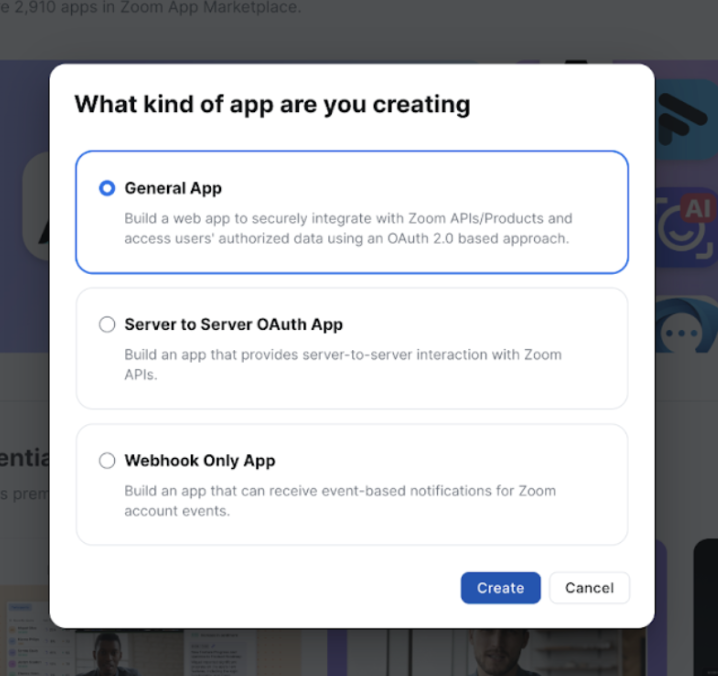
1. Select General App (this builds a web app to securely integrate with Zoom APIs and access authorized data using OAuth 2.0). 2. Select Create to proceed.
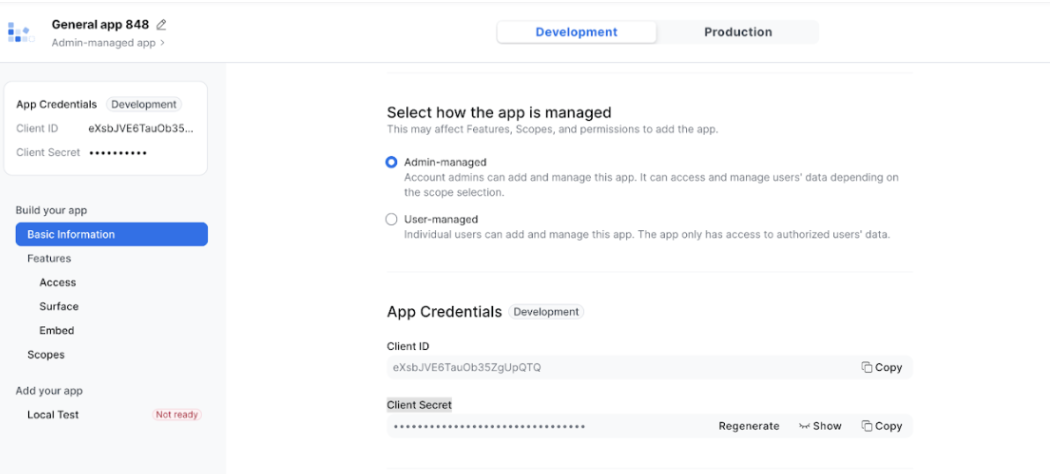
3. Configure app settings:
1. Ensure the Development button is selected (located in the middle of the page) to publish the app within the Zoom Marketplace and restrict external access. 2. Rename the app (displayed at the top left corner) to your preferred name. For example Heimdall Test. 3. Under Select How the App is Managed, choose Admin-managed (this allows account admins to manage the app and access user data based on selected scopes). 4. Click Save
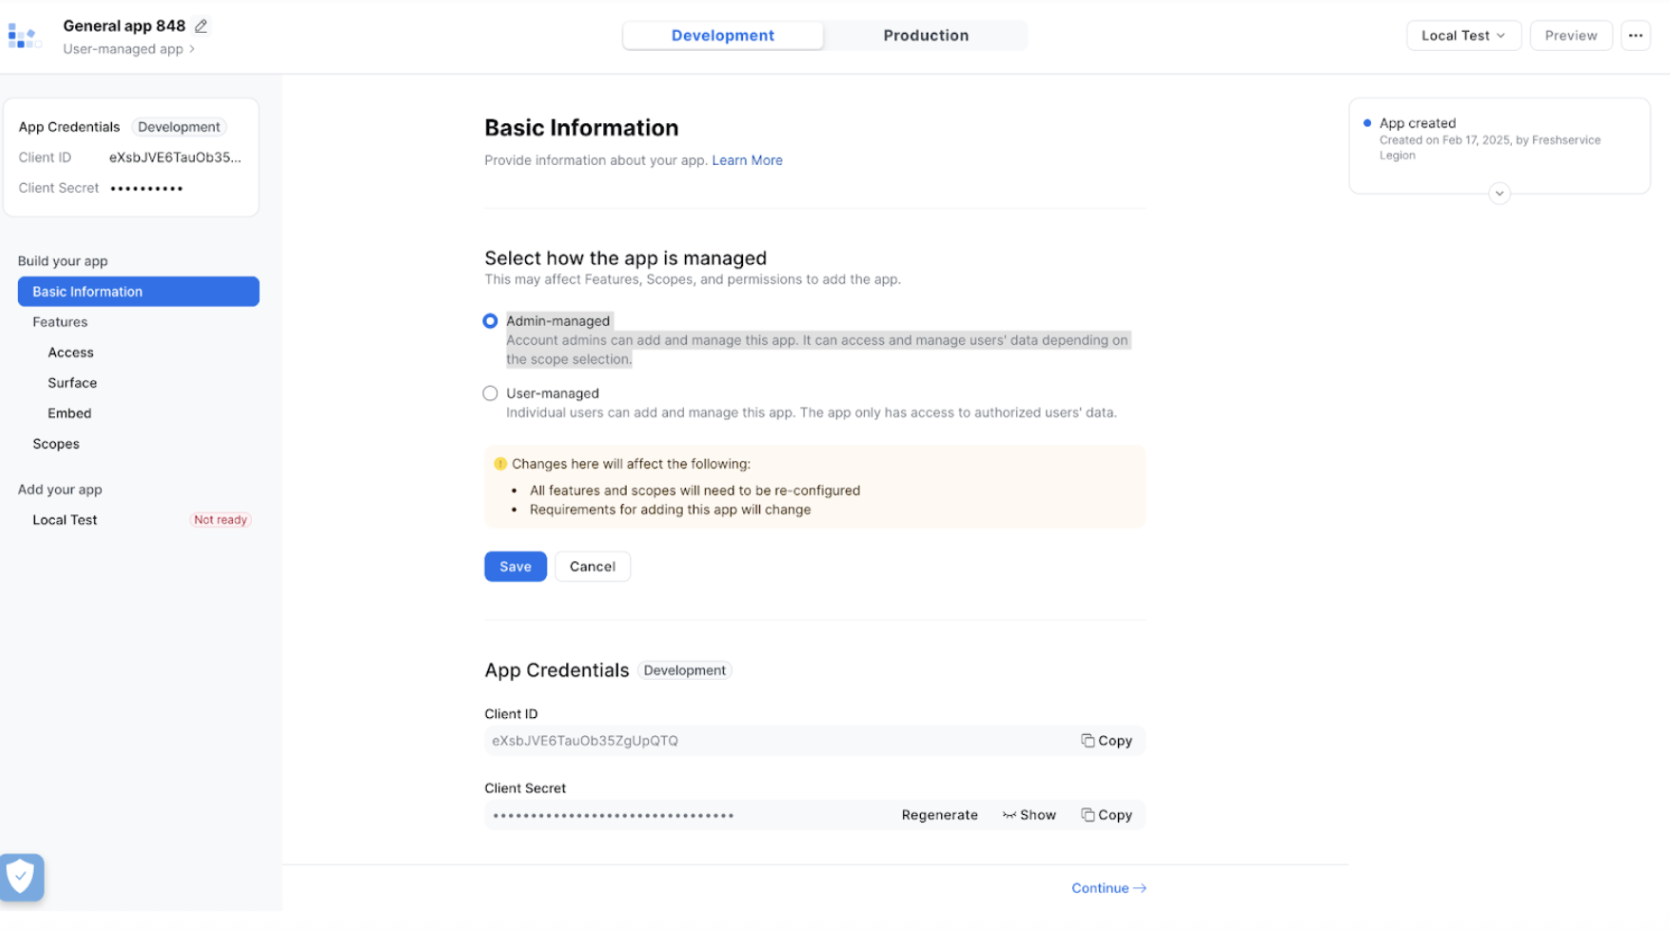 4. Copy App credentials
1.Copy the Client ID and Client Secret (these will be required for further configuration).
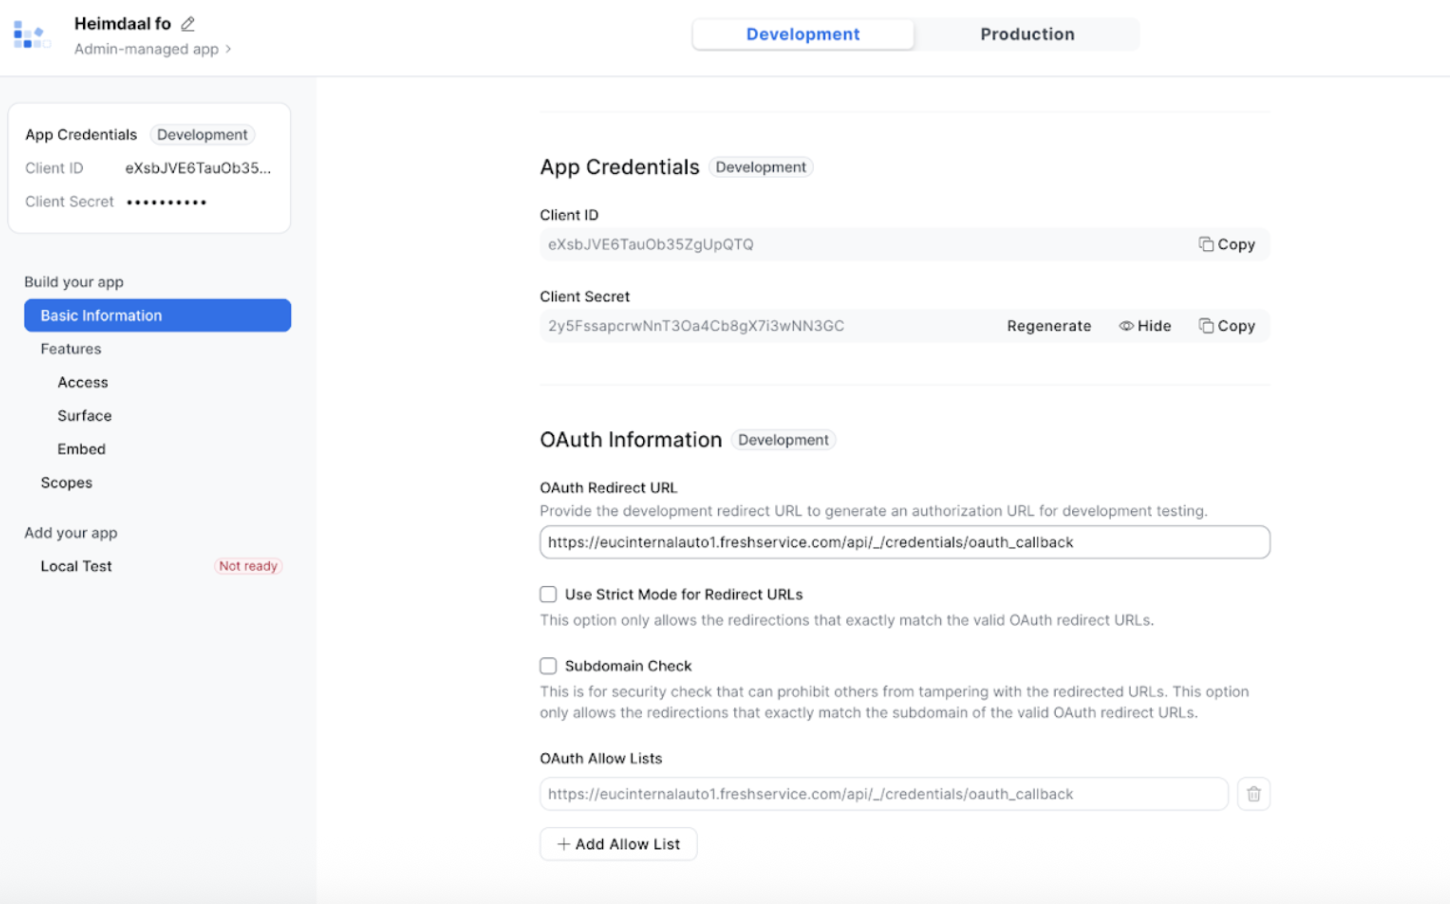
5. Configure OAuth Settings:
1. Under OAuth Information, add the following URL in both the Redirect URL for OAuth and Allow Lists sections: https://{{domain}}.freshservice.com/api/_/credentials/oauth_callback
2. Note: Replace {{domain}} with your Freshservice account domain (for example, eucinternalauto1).
3. Select Continue.
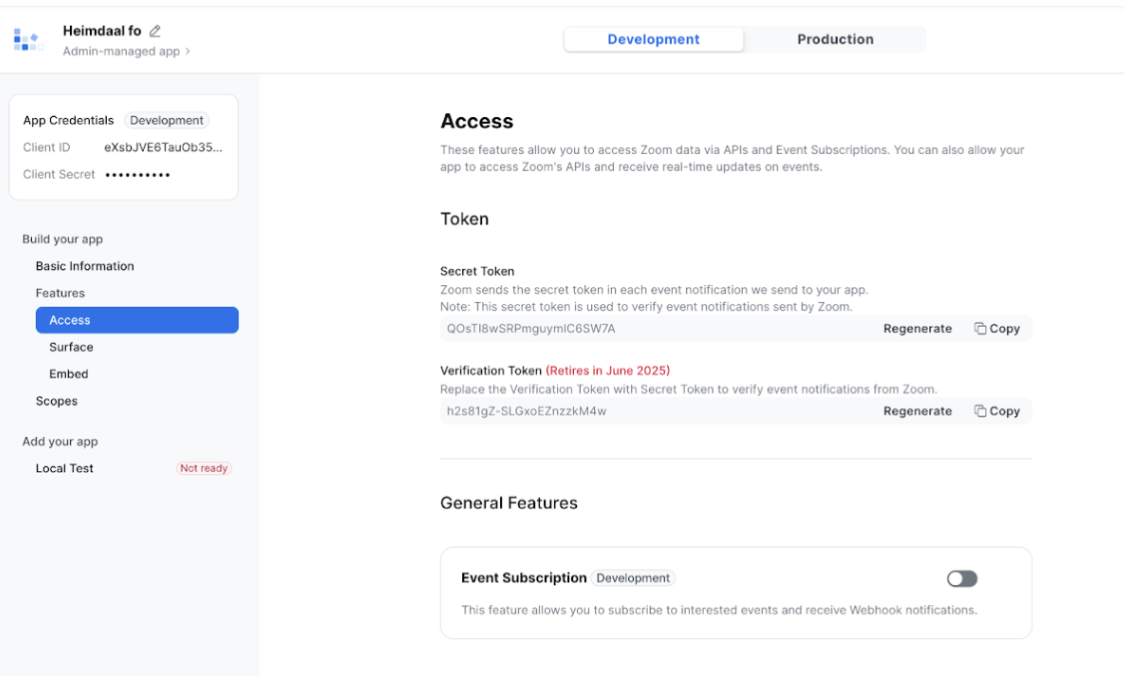
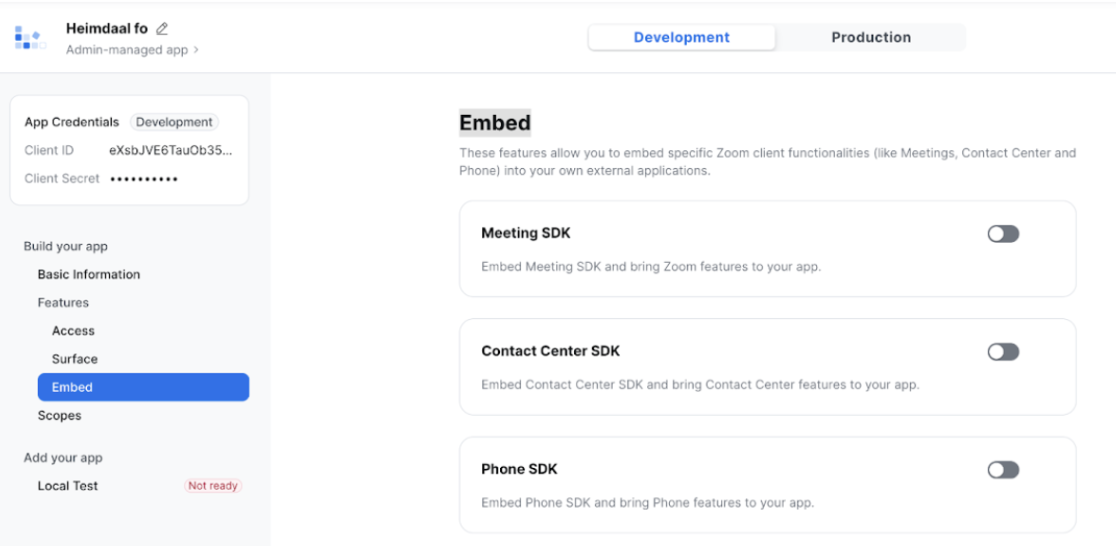
6\. Set Access, Surface, and Embed Settings:
1. On the Access page, proceed without making any changes.
2. On the Surface page, proceed without making any changes.
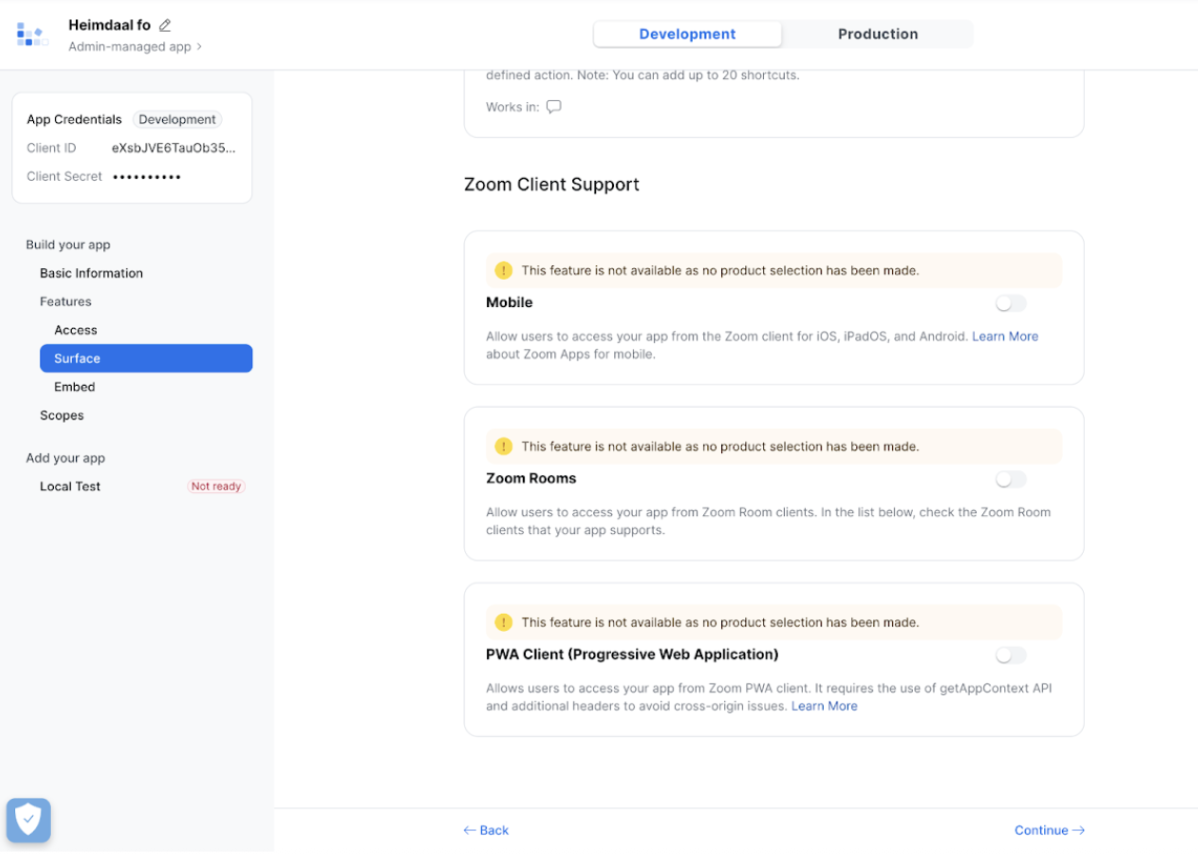
3. On the Embed page, proceed without making any changes.
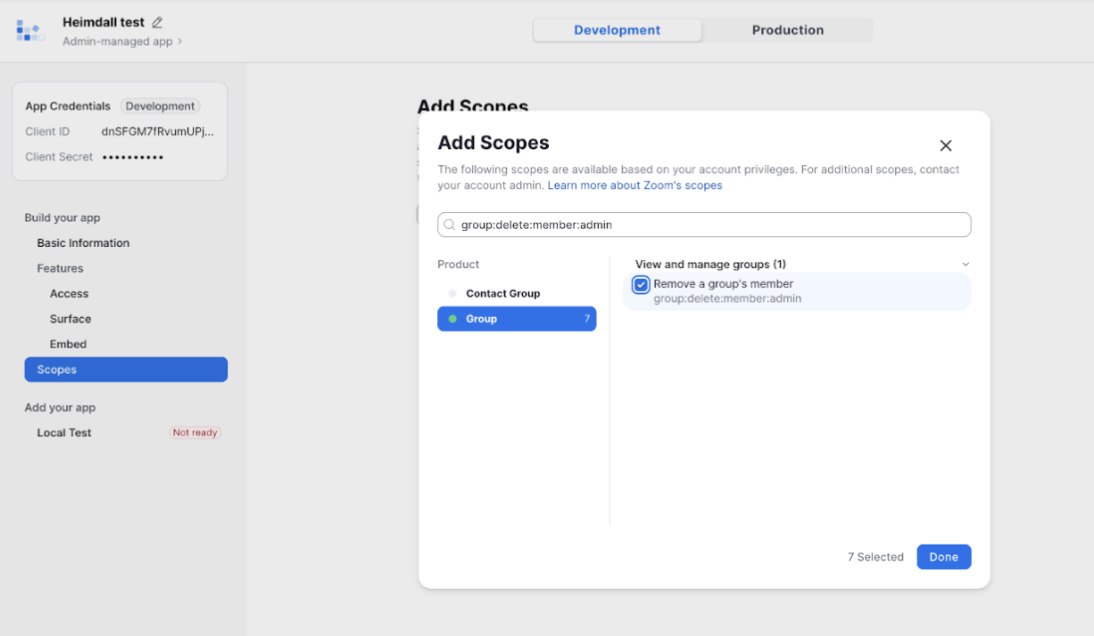
7\. Define Scopes:
1. On the Scope page, select Add Scopes and use the search bar to find the necessary permissions.
2. For example, to remove a member from a group, locate the Remove a Group’s Member action under Product Group and select the scope.
Important: Do not select Contact Group scopes. Ensure you only choose permissions related to the Product Group.
8\. Finalizing the Setup:
1. Once all 28 required scopes are added, the Zoom side of the configuration is complete.
2. Log in to your Freshservice account to update the Zoom OAuth credentials using the Client ID and Client Secret obtained in Step 5.
Scope description
The following table describes the scope.
| Product | Scope | Action | Description | Licence Type |
| Group | group:write:group:admin | Create Group | Create a group | A Pro or higher account |
| Group | group:update:group:admin | Update Group | Update a group | Pro, Business, or Education account |
| Group | group:read:group:admin | Get Group Details | View a group | Pro, Business, or Education account |
| Group | group:delete:group:admin | Delete Group | Delete a group | A Pro, Business, or Education account. |
| Group | group:write:member:admin | Add Group Member | Add members to a group | A Pro, Business, or Education account. |
| Group | group:update:member:admin | Update Group Member | Update a group's member | A Pro or higher account |
| Group | group:delete:member:admin | Delete Group Member | Remove a group's member | A Pro, Business, or Education account |
| Role | role:write:role:admin | Create Role | Create a role | A Pro or higher plan |
| Role | role:update:role:admin | Update Role | Update a role | A Pro or higher plan |
| Role | role:read:role:admin | Get Role | View a role | A Pro or higher plan |
| Role | role:delete:role:admin | Delete Role | Delete a role | A Pro or higher plan |
| Role | role:write:member:admin | Assign Role to Member | Add a member to a role | A Pro or higher plan |
| Role | role:delete:member:admin | Unassign a Member Role | Remove a role's member | A Pro or higher plan |
| Meeting | meeting:read:meeting:admin | Get Meeting Details | View a meeting | Host user must have a Zoom Meetings Basic license or higher |
| Meeting | meeting:write:meeting:admin | Create Meeting | Create a meeting for a user | |
| Meeting | meeting:delete:meeting:admin | Delete Meeting | Delete a meeting | |
| Meeting | meeting:write:registrant:admin | Add Meeting Registrant | Add a registrant to a meeting | The host must be a Licensed user type |
| User | user:read:user:admin | Get User Details with ID | View a user | |
| User | user:read:list\_permissions:admin | Get Granted Permissions for User with ID | View a user's permissions | |
| User | user:write:user:admin | 1. Create User<br> <br>2. Create User Outside Managed Domain<br> <br>3. Create Standalone User<br> <br>4. Create SSO User | Create a user | A Pro or higher plan |
| User | user:update:user:admin | Update User with ID | Update a user | |
| User | user:delete:user:admin | Delete User with ID | Delete a user | |
| User | user:update:email:admin | Update User’s Email with ID | Update a user's email | |
| User | user:update:password:admin | Update User’s Password with ID | Update a user's password | |
| User | user:update:status:admin | 1. Activate User with ID<br> <br>2. Deactivate User with ID | Update a user's activation status | |
| User | user:delete:assistant:admin | 1. Delete User’s Assistants with ID<br> <br>2. Delete User’s Specified Assistant with ID | Remove a user's assistant | |
| User | user:read:token:admin | Get User’s Token with ID | View a user's token | |
| User | user:delete:token:admin | Revoke User’s SSO Token with ID | Remove a user's token |