Last updated: 2026-02-20
Overview
Freshservice integration with Chargebee for Freshservice app enables your teams to track the time spent by agents for resolving each ticket and generate customer invoices based on the time spent.
With Chargebee for Freshservice integration:
Prerequisites
Ensure you have the following, as part of the prerequisites for integration:
Install the app
To install the app, follow these steps:
1. Log in to your Freshservice account.
2. Go to Admin > Global Settings > Automation & Productivity > Apps.
3. Or, click the Marketplace Apps icon on the top-right corner, and select Marketplace Apps.
4. Search and select the Chargebee for Freshservice app using the Search apps option.
5. Click Install on the installation page.
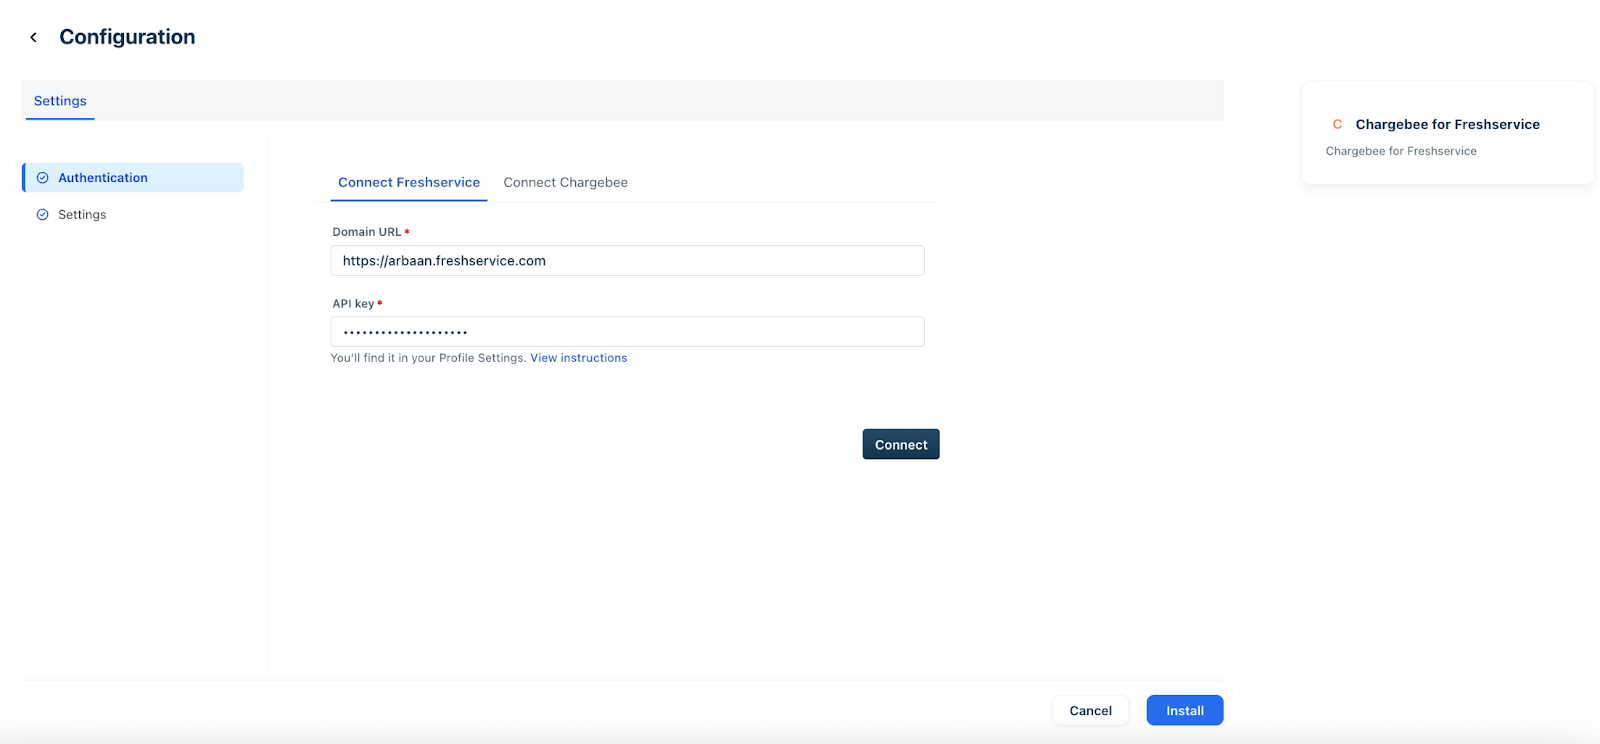
6. On the Configuration page Connect Freshservice tab, click Connect to authenticate the Freshservice connection.
Note: The Domain URL and API key fields are auto-populated.
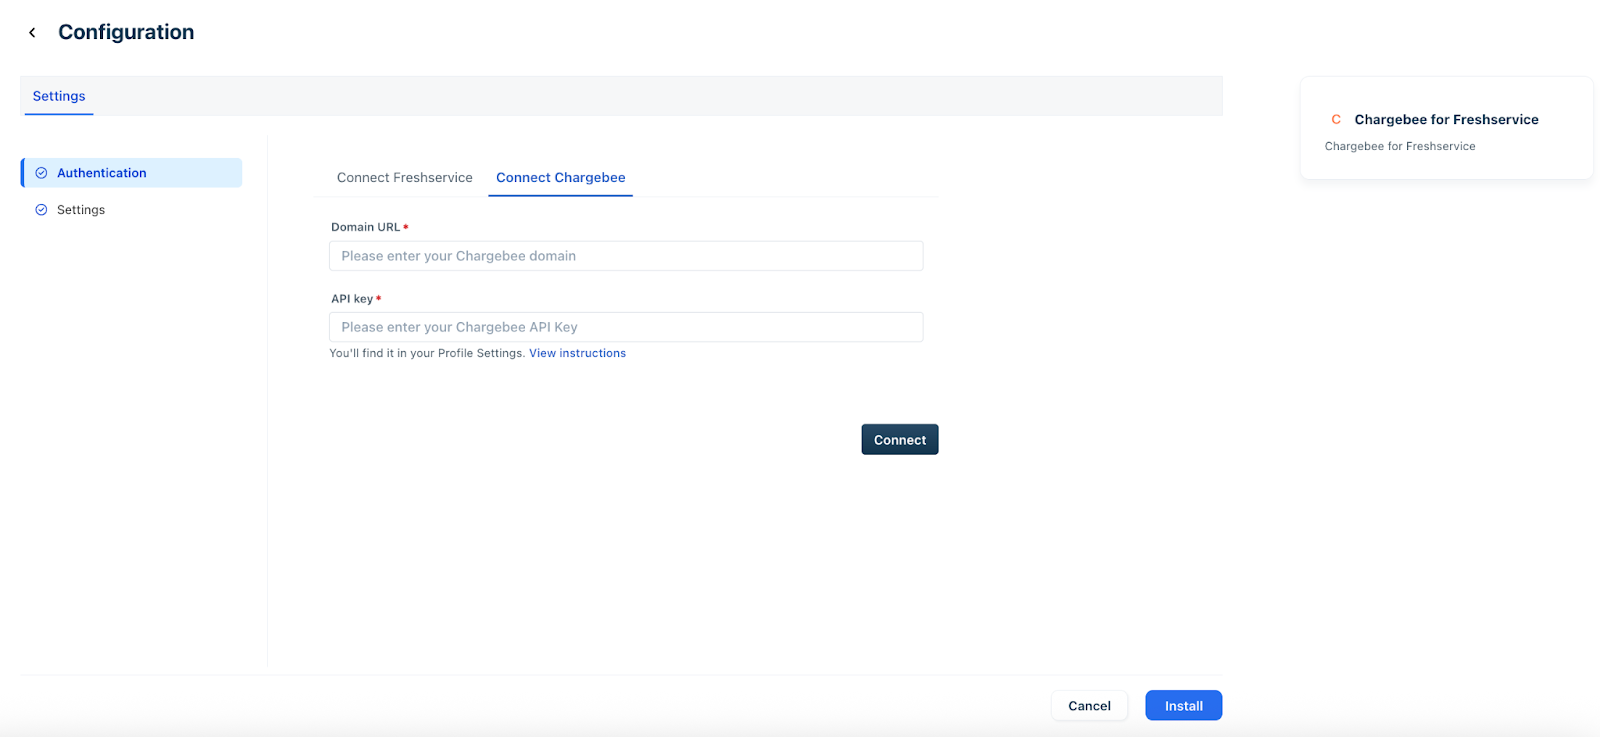
7. On the Configuration page Connect Chargebee tab, enter the Chargebee Domain URL and API key details, and click Connect.
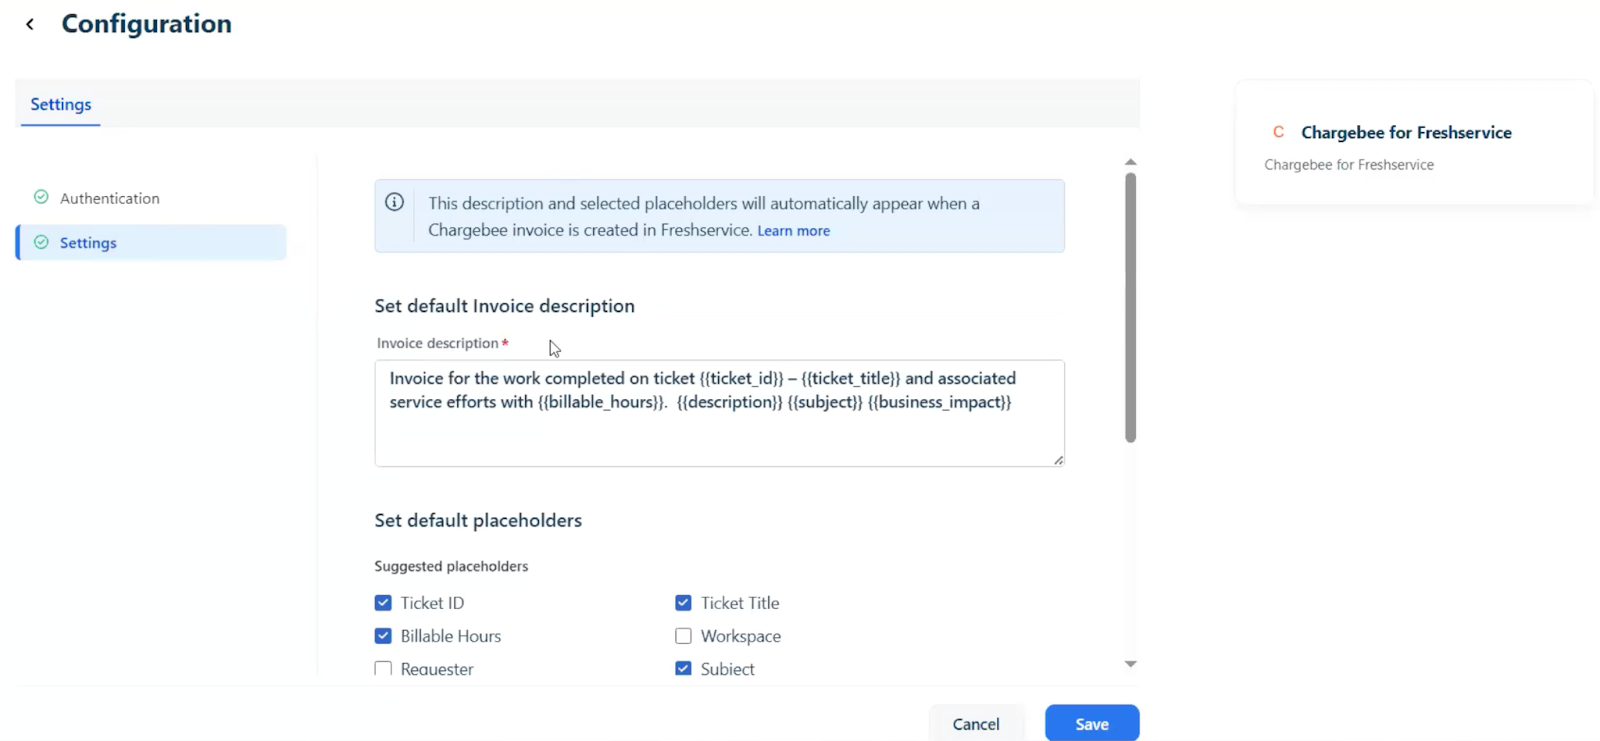
8. In the Settings section, set the default invoice description by selecting the required placeholders.
Note: You can select the required placeholders from Suggested placeholders (such as, Ticket ID, Subject, Requester, and so on) or add custom placeholders using the Add placeholders option.
9. Click Install to install the app.
Add time entry and generate invoice for a ticket
To add time entries and generate invoices, follow these steps:
1. Log in to your Freshservice account.
2. Go to Tickets > List.
3. Click any ticket Subject to open the ticket Details page.
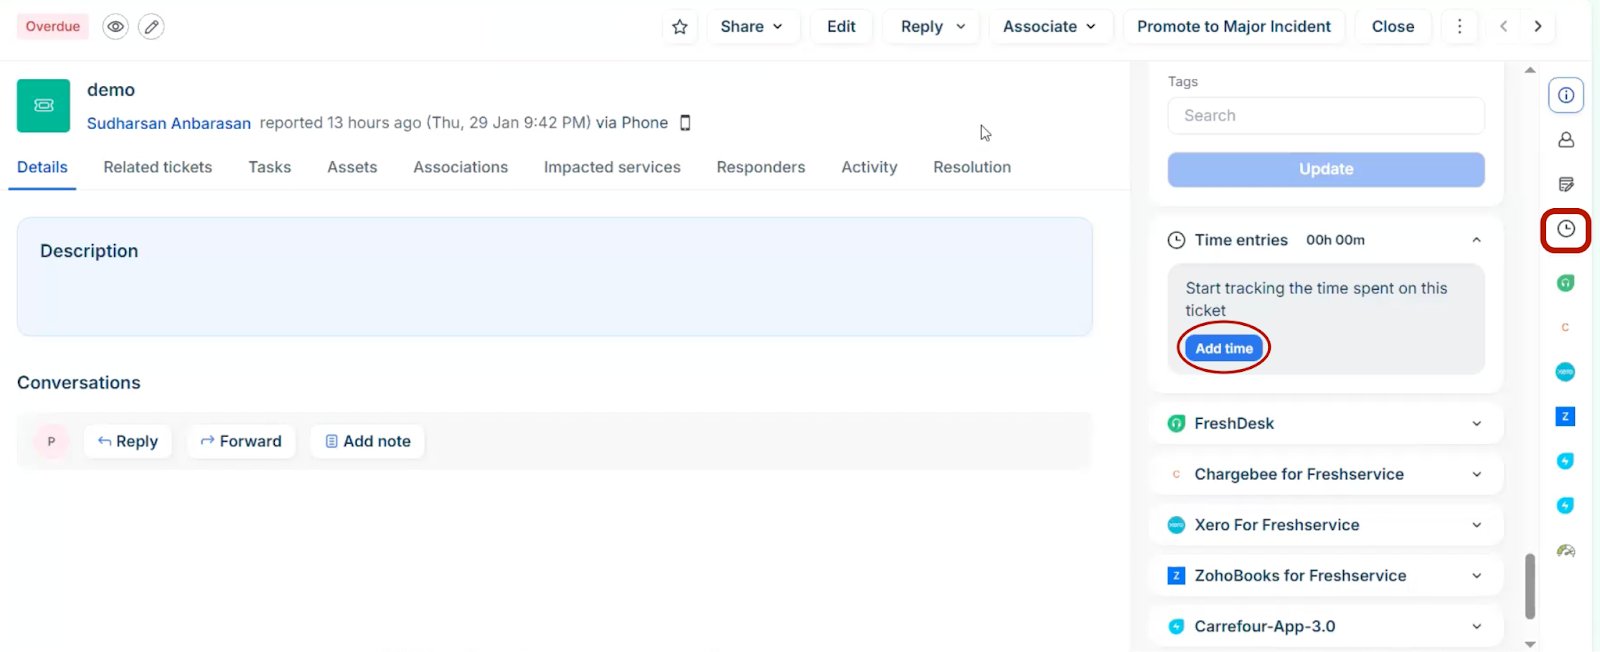
4. Click the Time entries icon on the right side of the page, and click Add time.
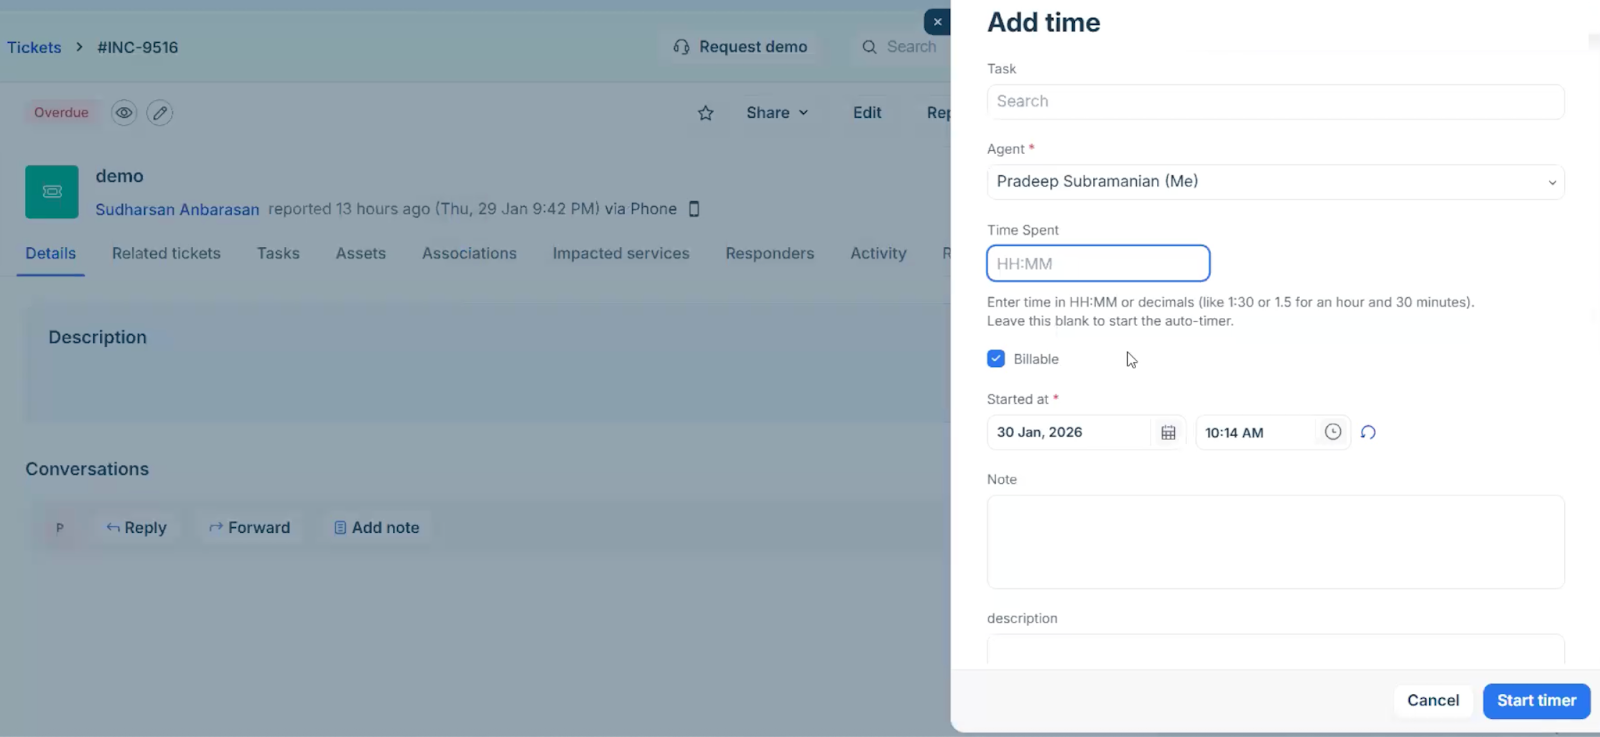
5. In the Add time slider, specify all the relevant time entry details, such as Time Spent, Started at, Agent, Description, and so on. Then, click Start timer.
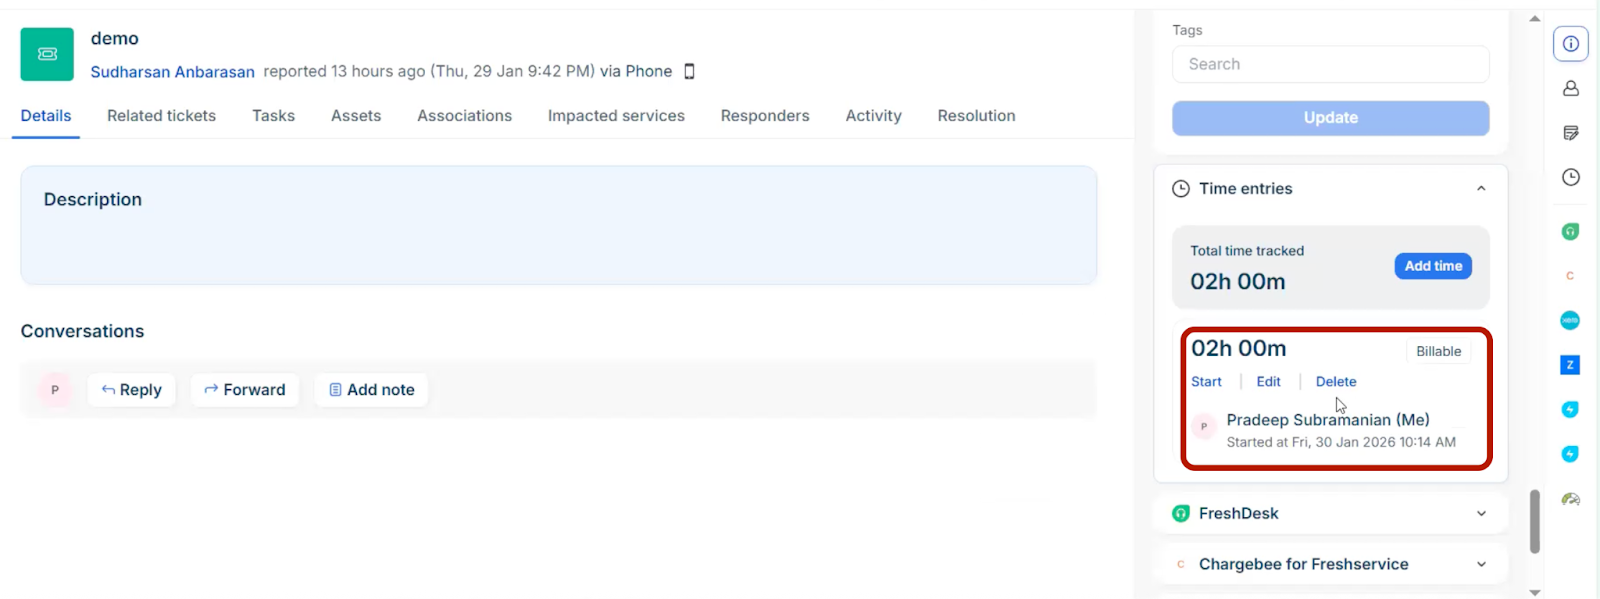
The time entry will be added under Time entries.
Note:
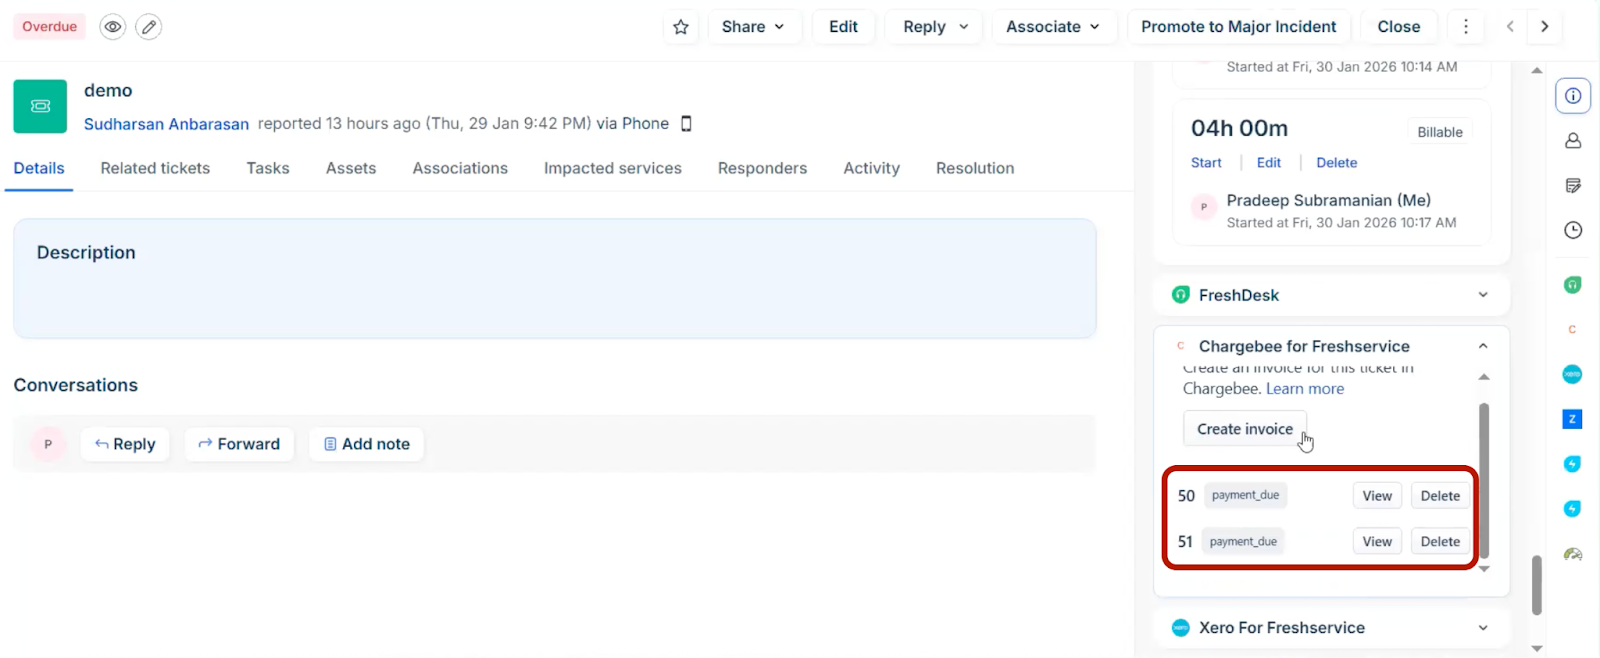
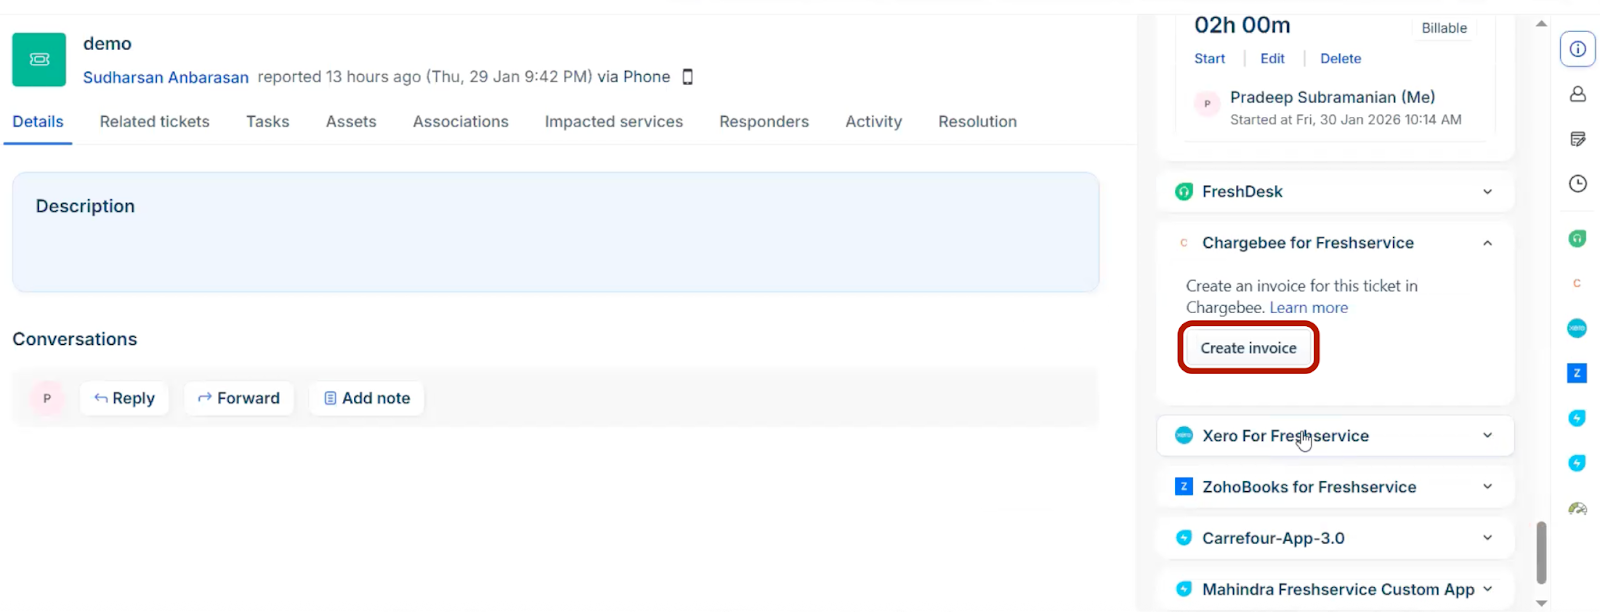
6. Now, click the Chargebee widget on the right side of the ticket details page, and click Create invoice.
7. In the Create invoice slider, review all the details, such as Charge item, Description, Amount, and so on. Click Create.
Note:
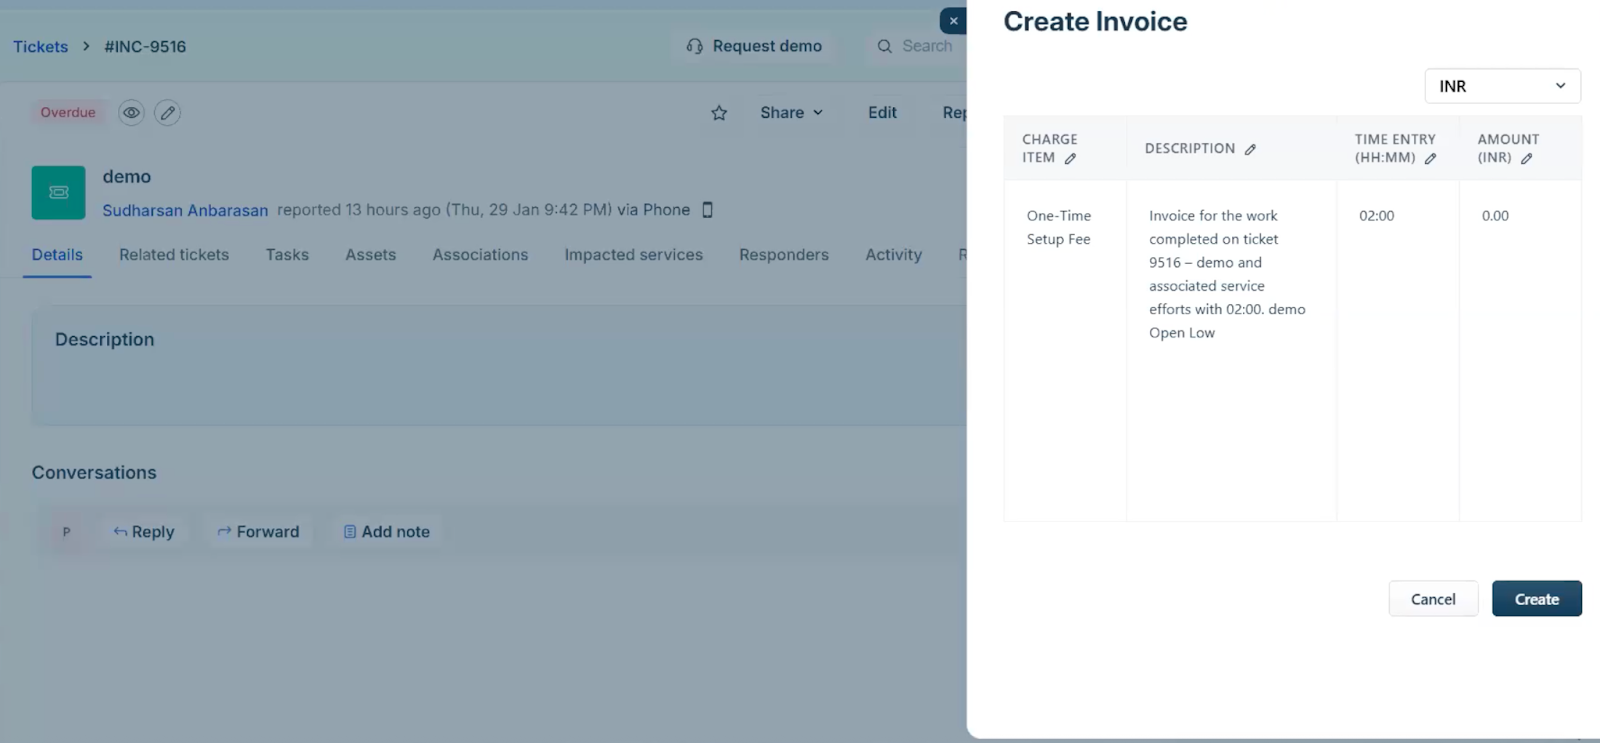
The invoices will be added under the Chargebee widget within the Freshservice ticket.
8. Click View next to an invoice to view the details.
Note: Use the Delete option to delete any invoice. Any invoice can only be viewed or deleted, but it cannot be edited.